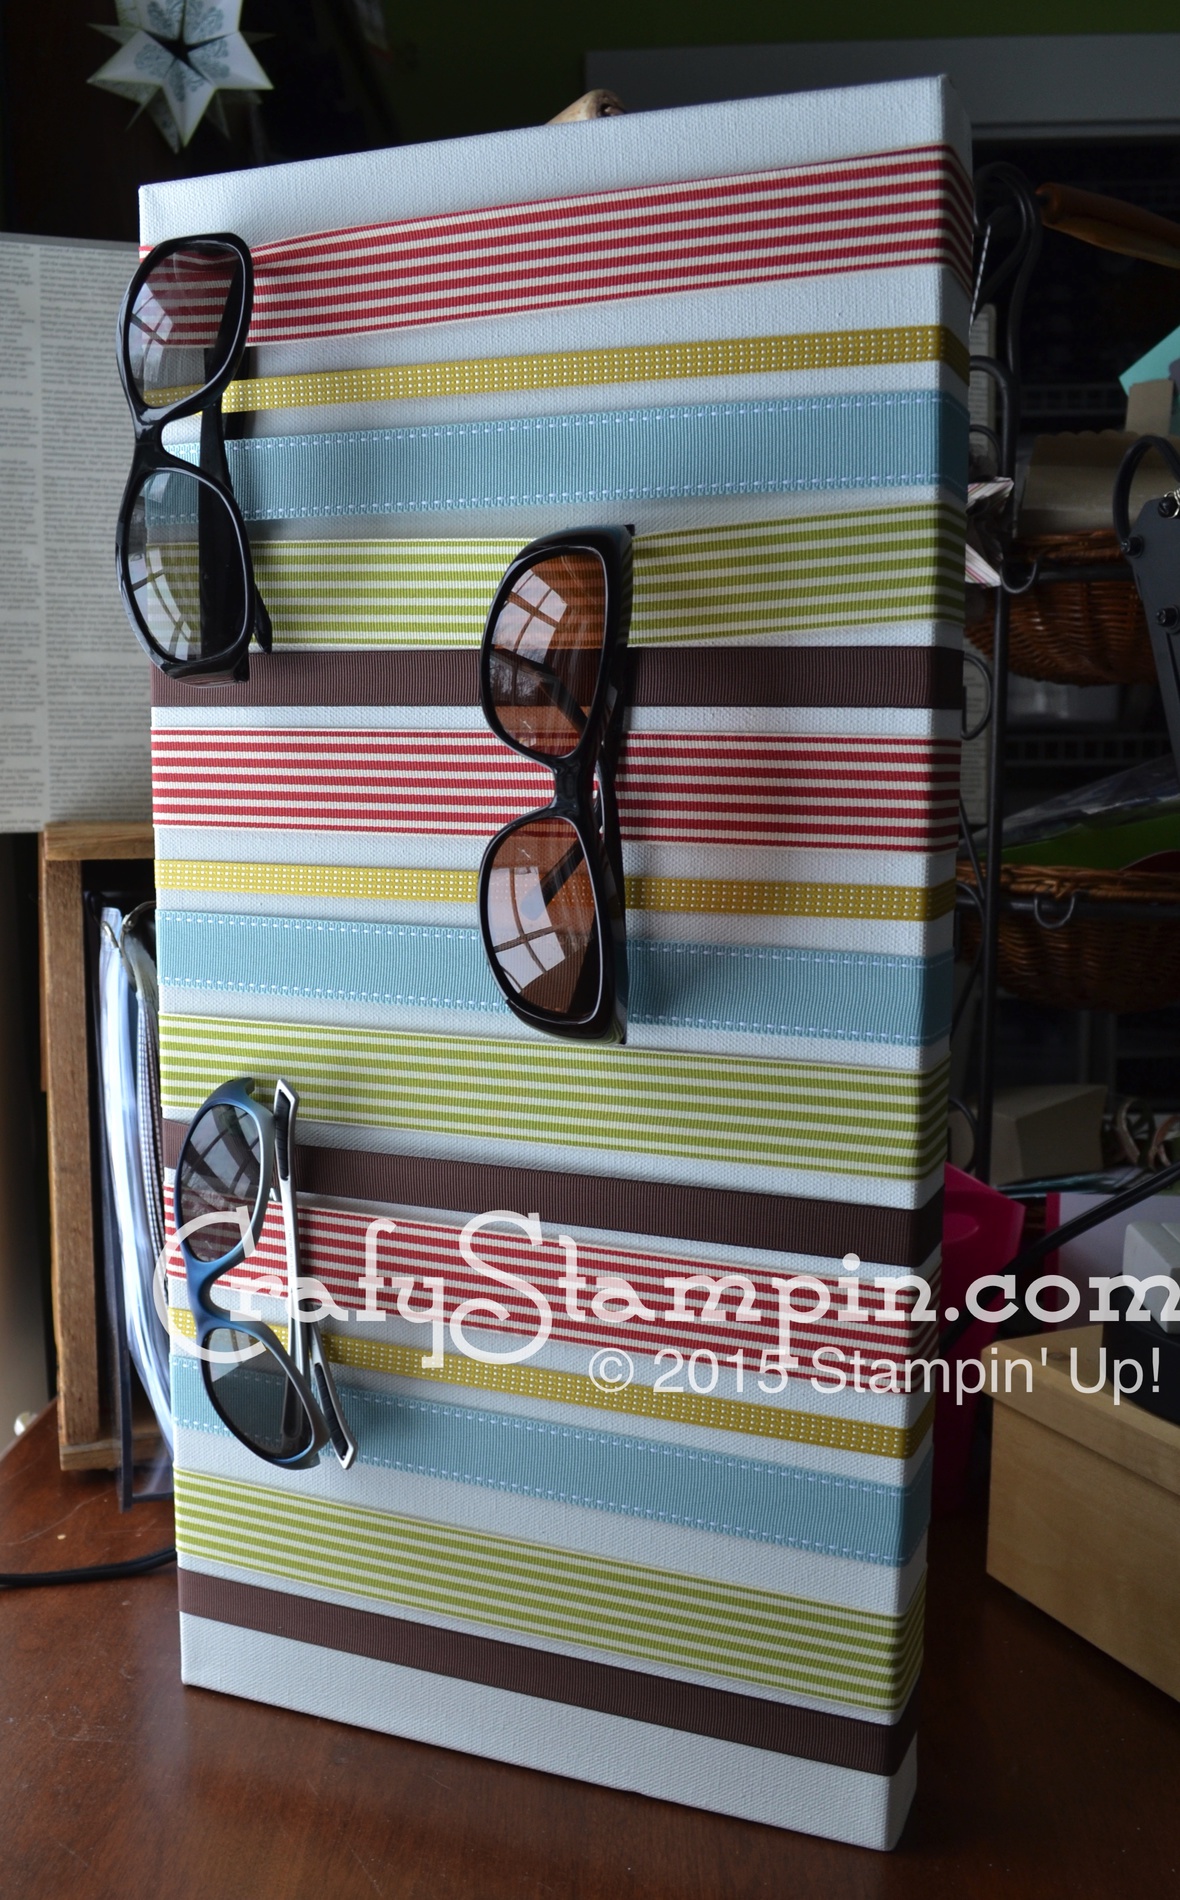
I have been working on organizing various parts of my house over the past several weeks. Sometimes it seem clutter just takes over and it’s a good winter project. Today I took on my mudroom. With all the snow we have been having, every ones snow jackets and pants, are mix up with the sandals and baseball hats from the summer that never got put away. It is the first place you enter when coming into my home and clutter was driving me crazy.
One item I have trouble trying to organize are sunglasses. Awhile back I was browsing pinterest I saw this cute little ribbon covered painting canvas that was used to hold sunglasses and that’s been in the back of my head for a while so I decided to finally try and make my own.
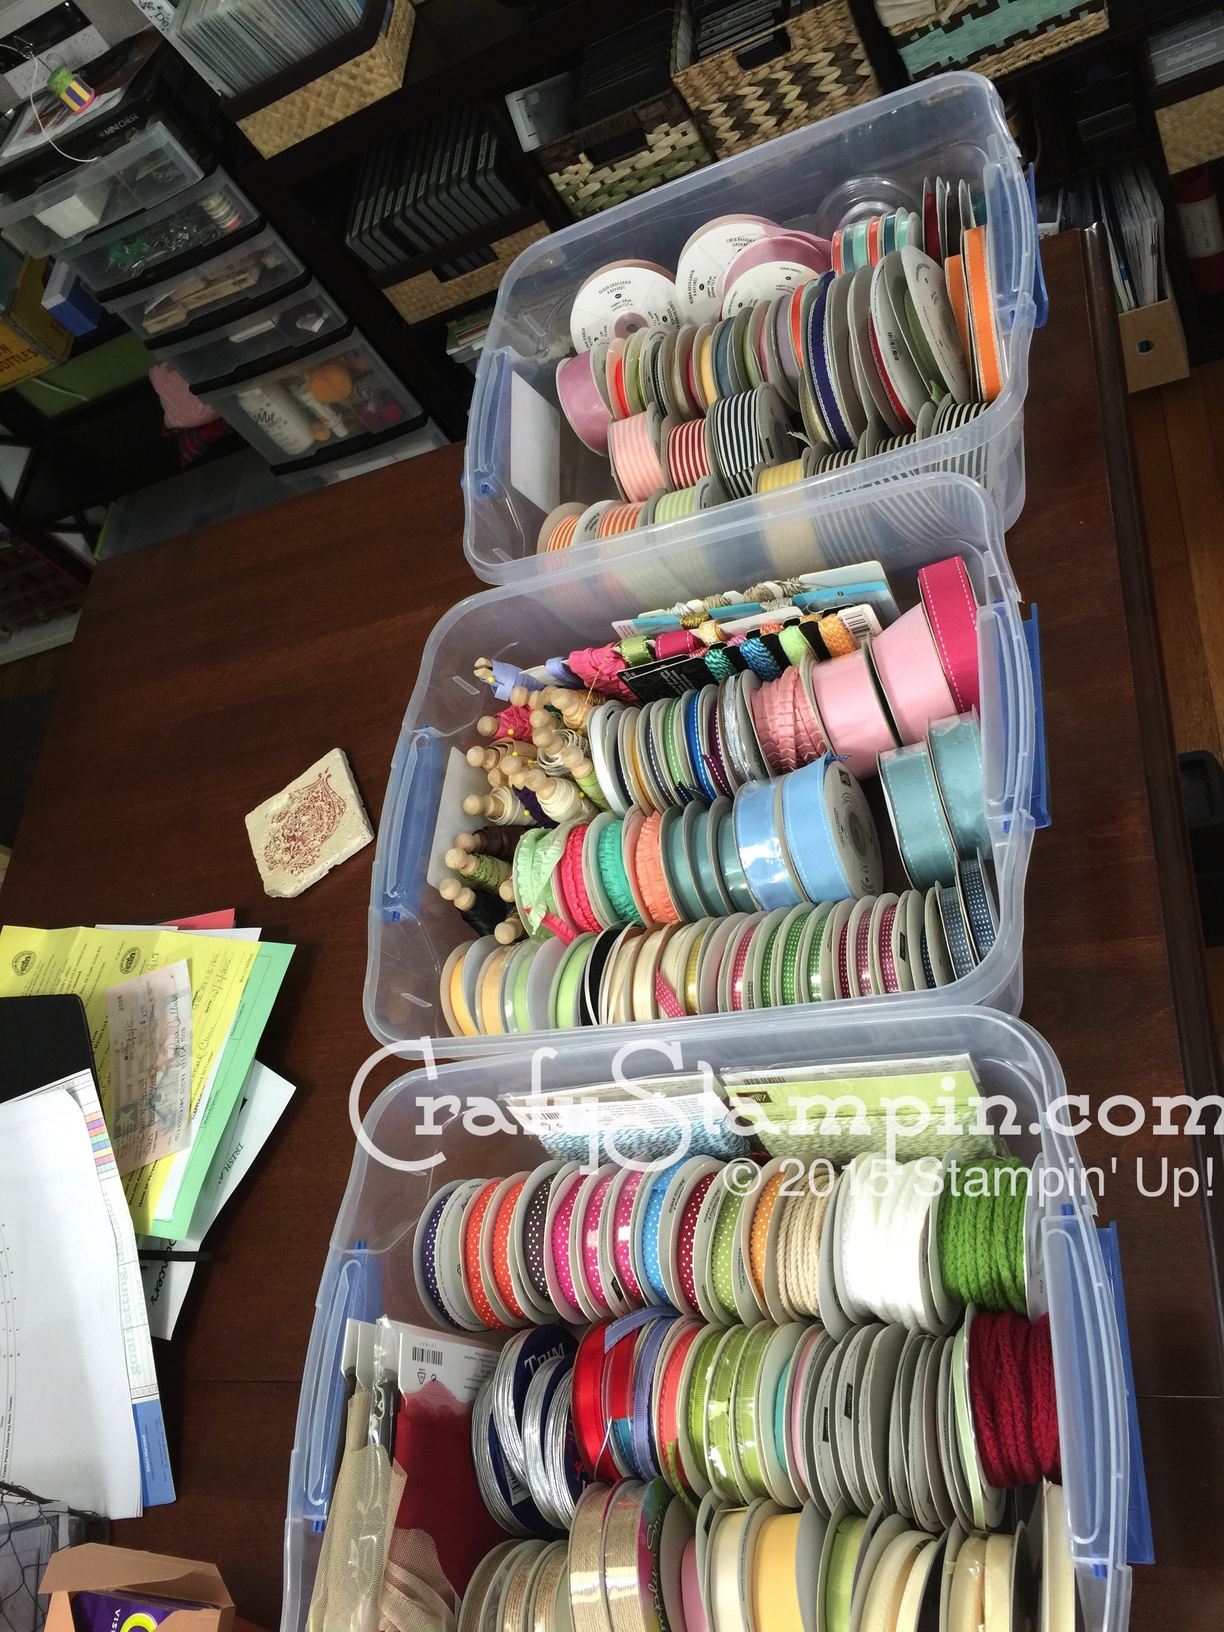
Hi, My name is Linda and I’m a craft supply hoarder. But it’s ok, I’m fine with it. Here are all my retired Stampin’ Up! ribbon. Aren’t they pretty? So first thing I did was dig through this stash and find several ribbons of different sizes, colors, and textures to use in my project.
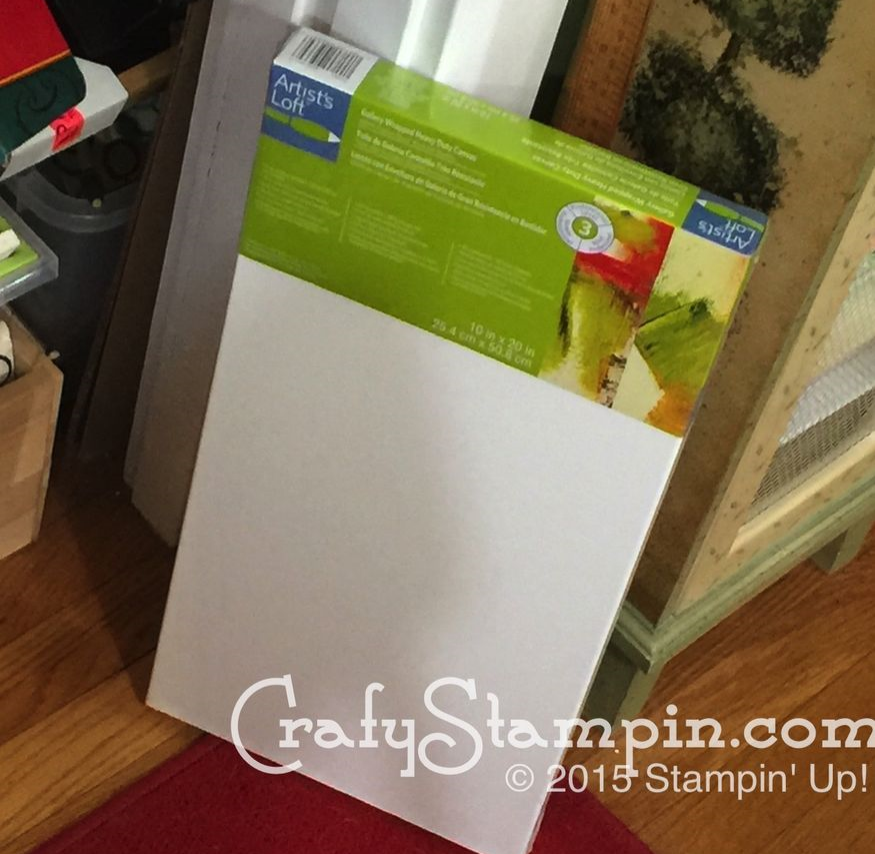
My mud room is small and the larger walls are being used for hanging coats and bags, but I do have a few smaller sections of wall that I thought would work great for this, but that meant I needed a long and thin canvas. I pick this one up at my local art store.
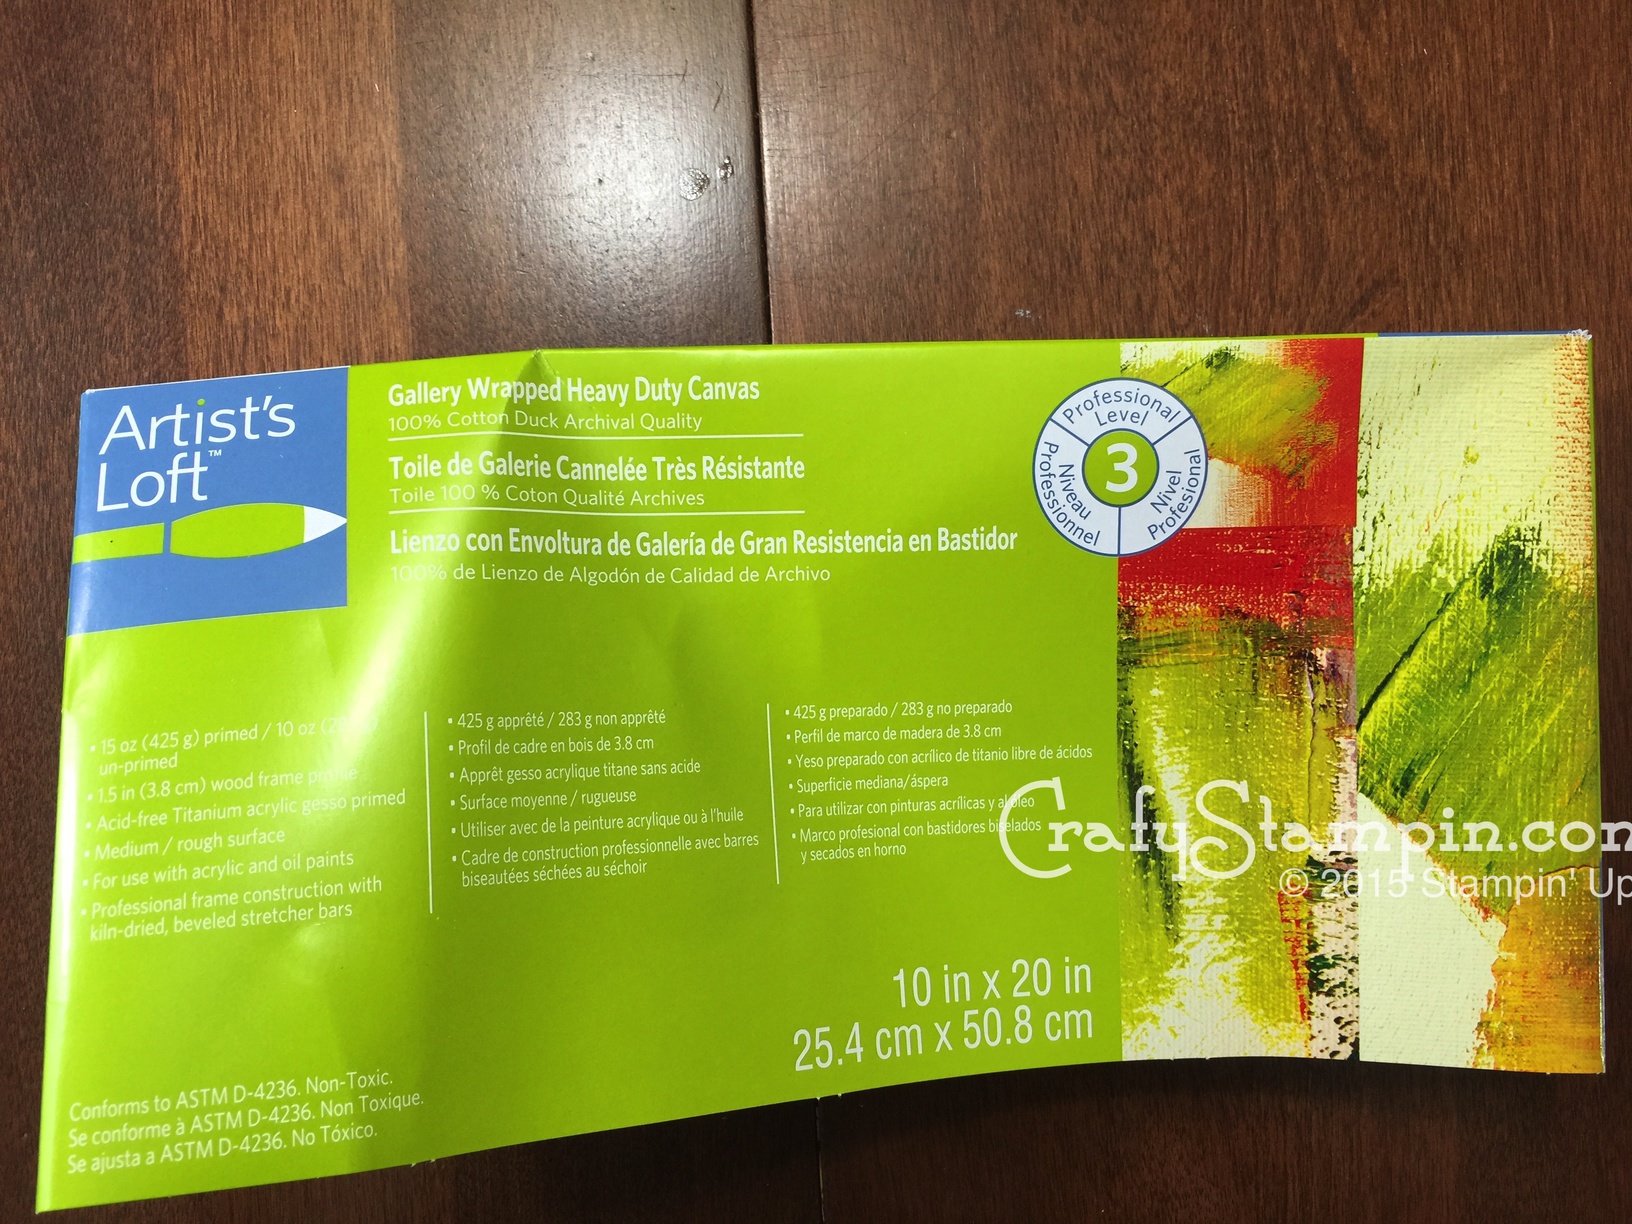
It’s 10″ x 20″, and a much higher quality canvas than I wanted, but the cheaper ones didn’t come in a size that would work out a well.
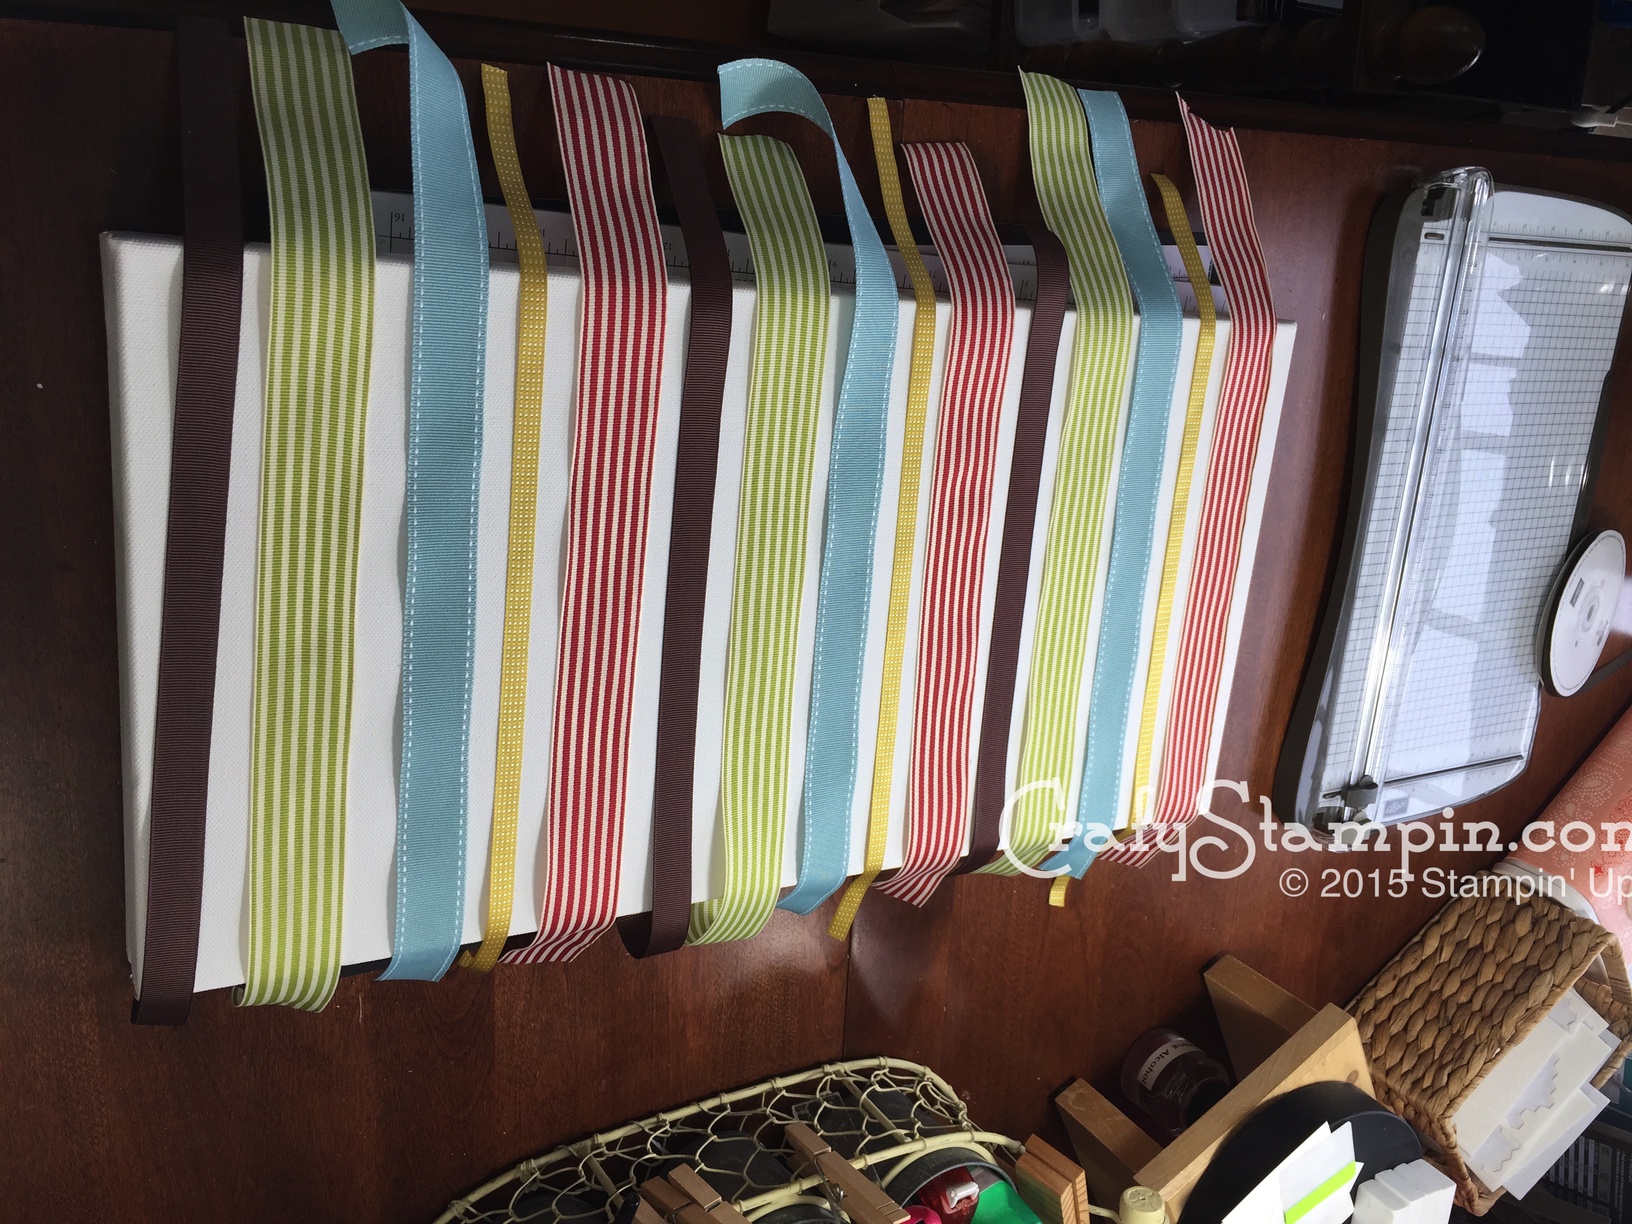
I picked 5 different ribbons, and used them in a repeating pattern. That makes my OCD happy. I laid everything out on my craft table and cut each ribbon several inches longer than the width of the canvas.
The colors are, Riding Hood Red, Summer Starfruit, Baja Breeze, Old Olive, and Chocolate Chip.
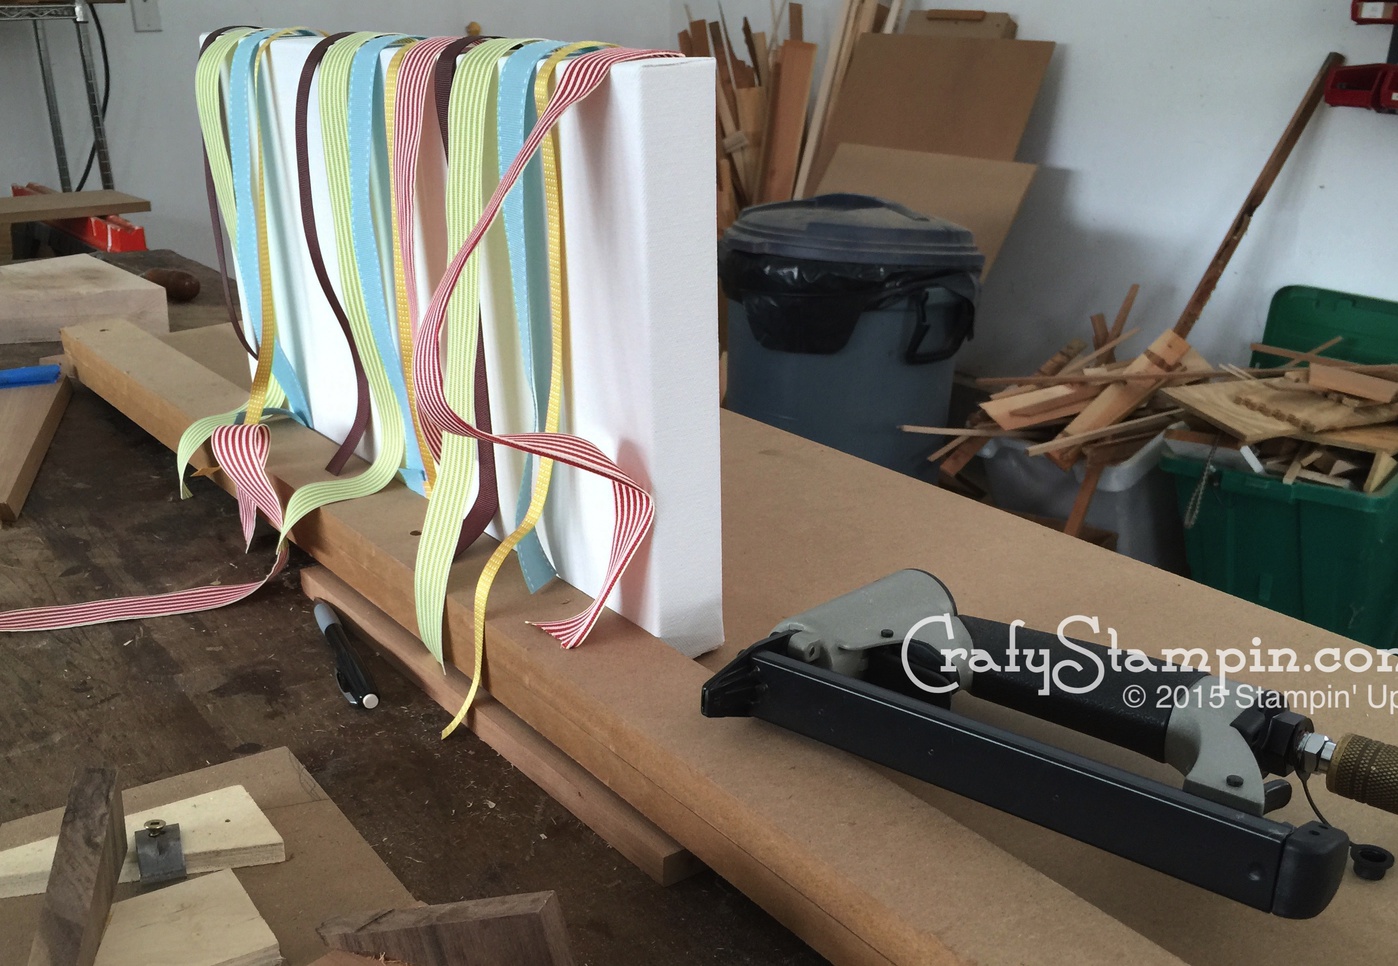
I then moved into my husbands workshop. We have a pneumatic staple gun, but I think any staple gun would work well for this project. I placed the canvas on it’s side and placed the ribbons about where I wanted them.
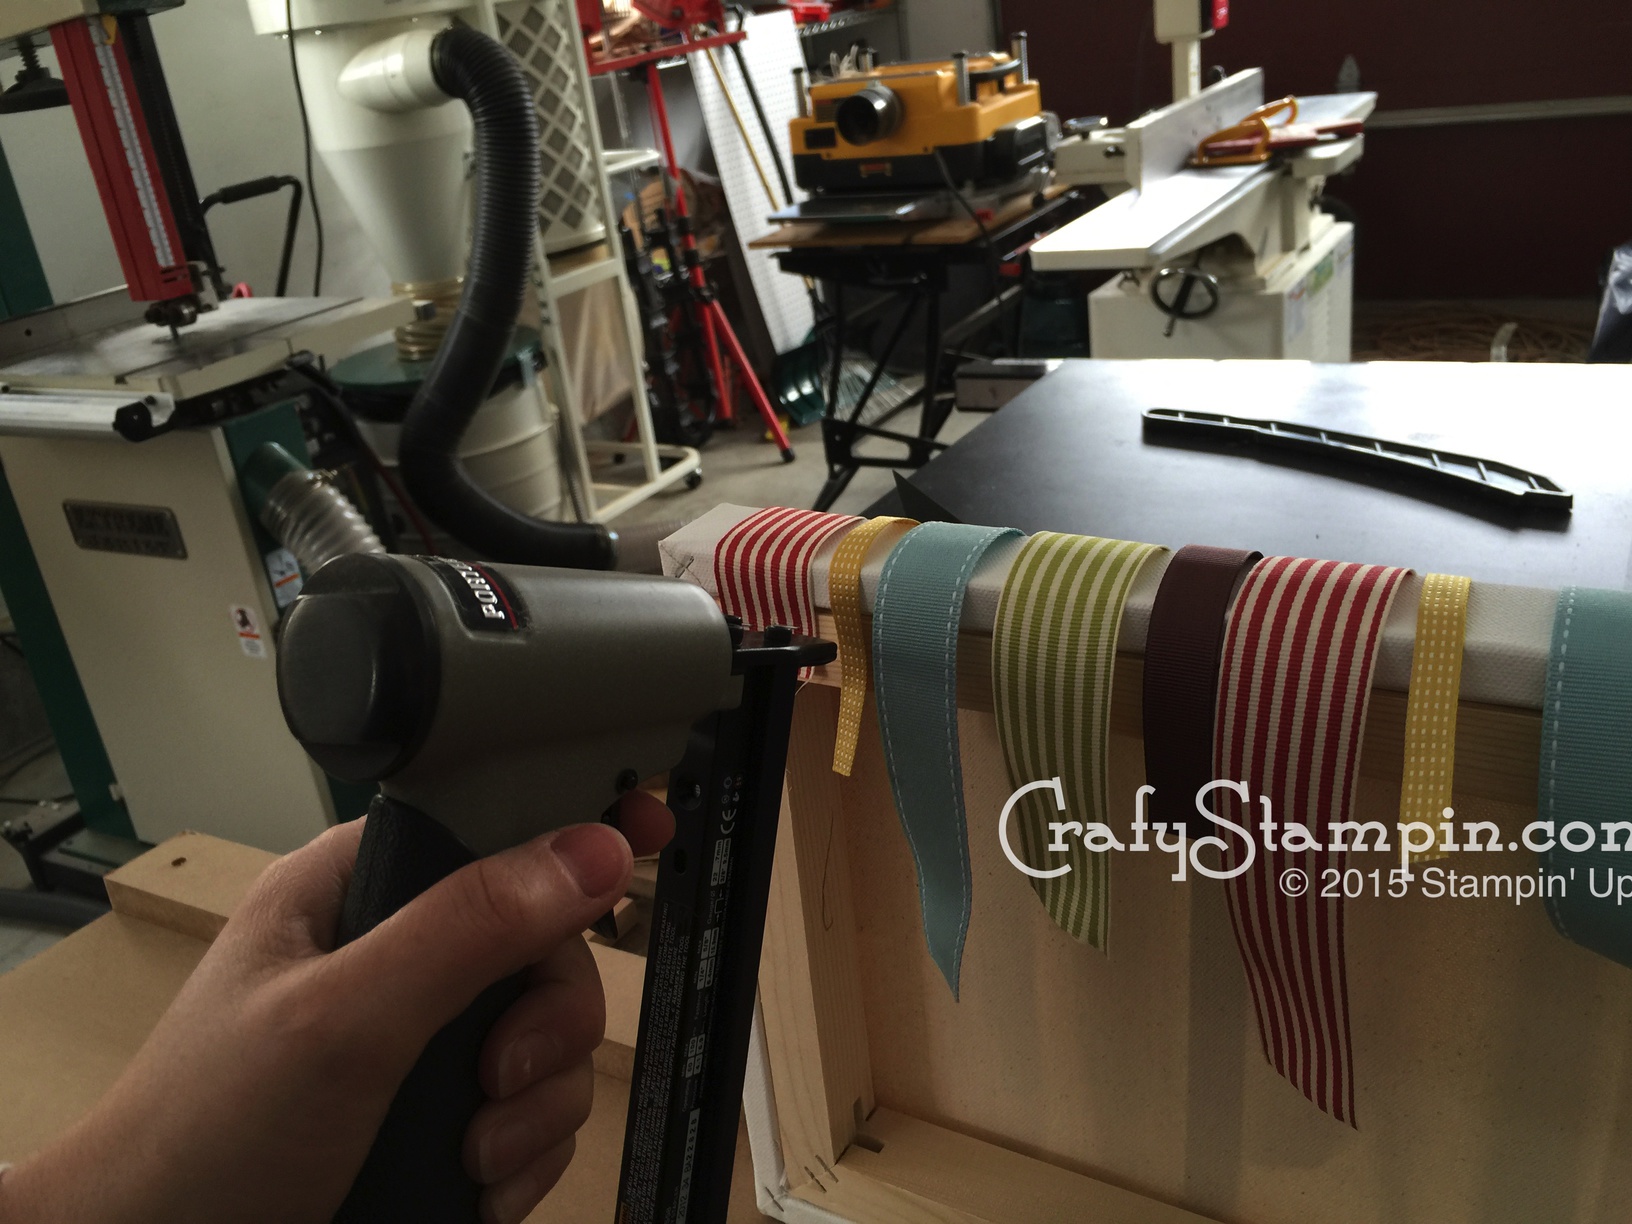
Then I started stapling each one on.
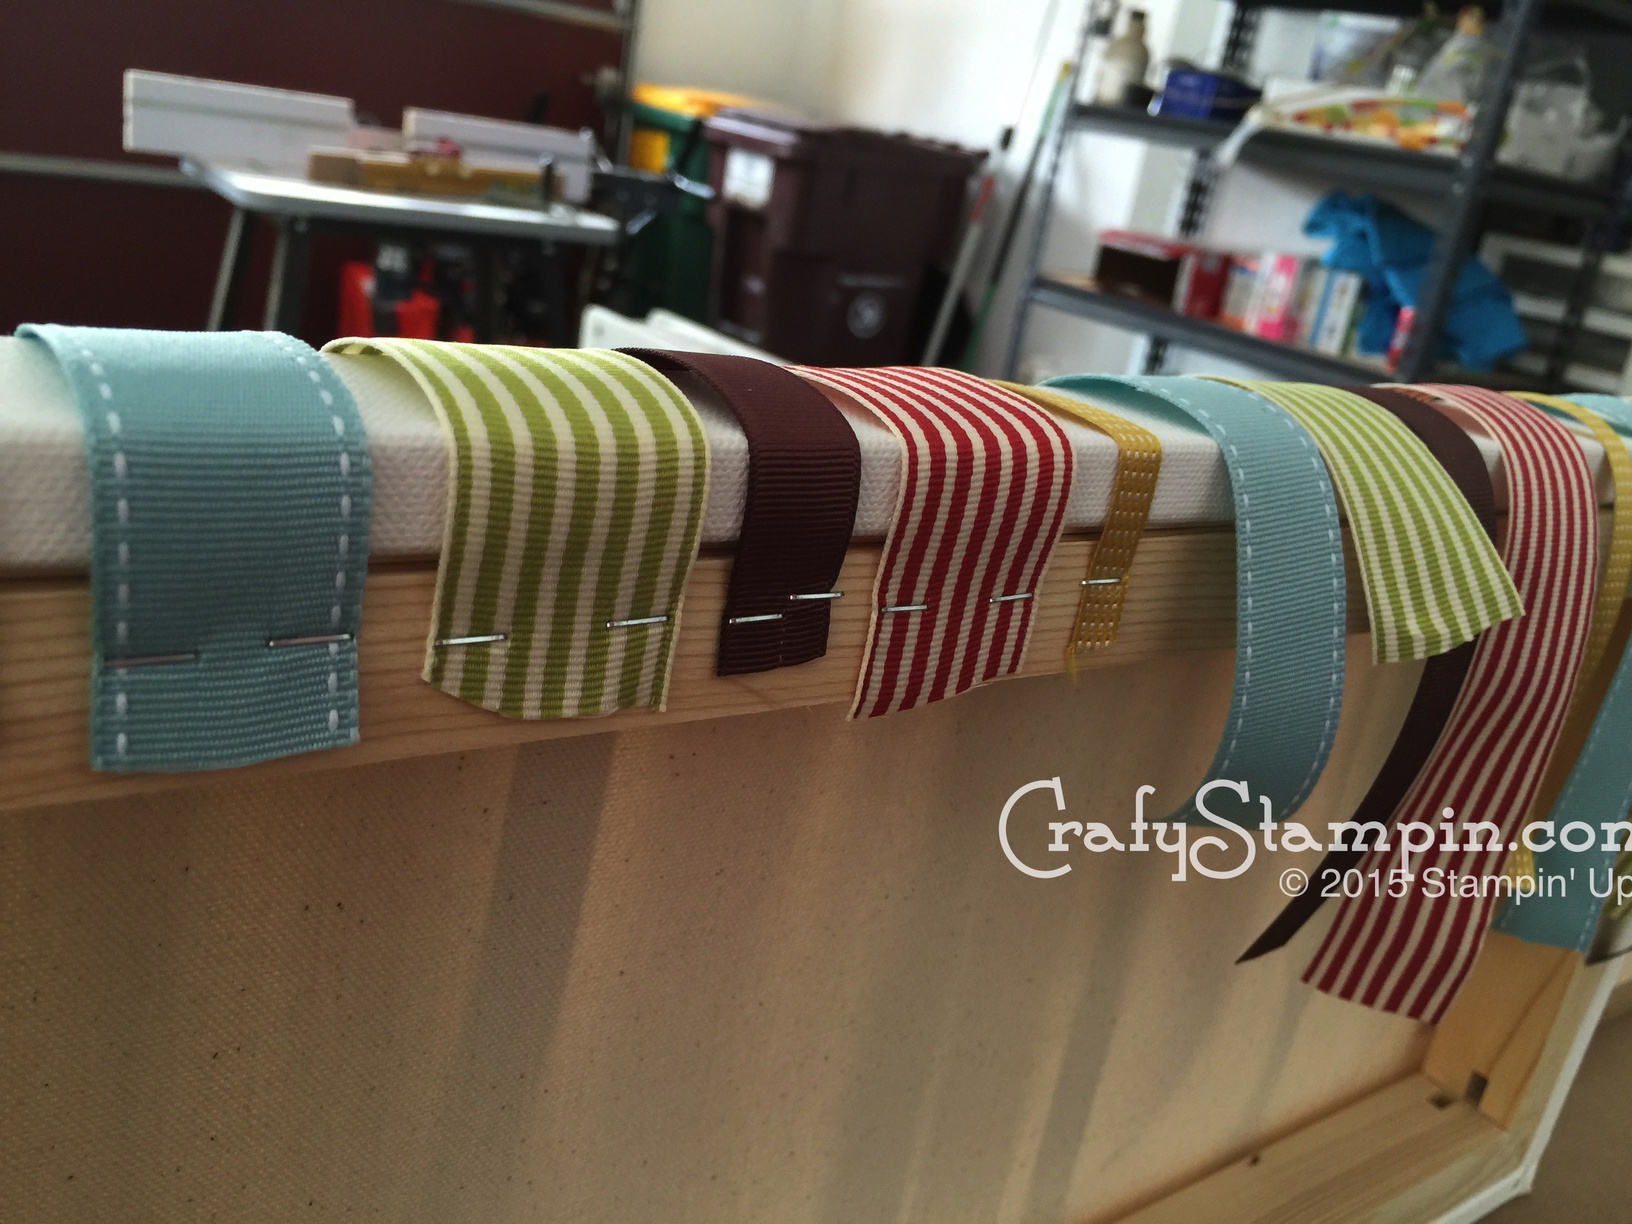
I just worked my way down trying to keep the spacing that I had worked out while it was lying on the craft room table.
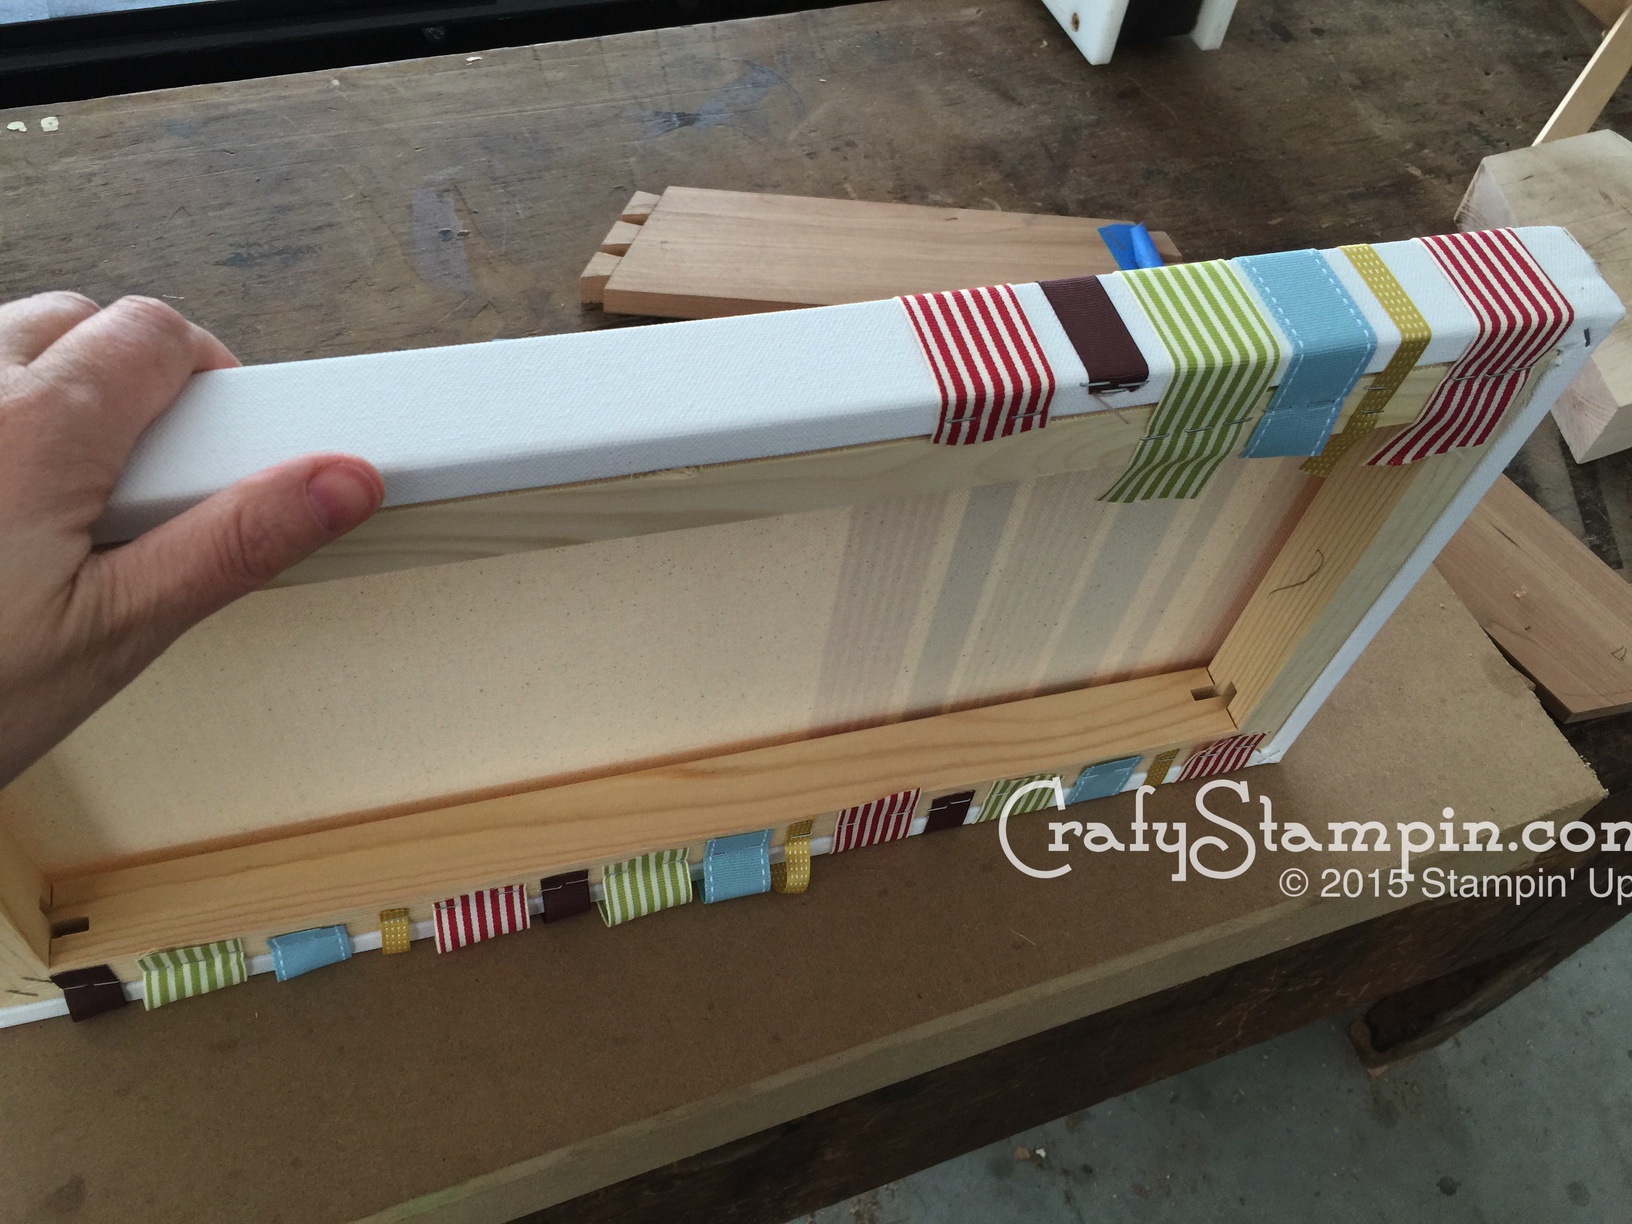
Once the first side was completed, I flipped the canvas over and started stapling the other side.
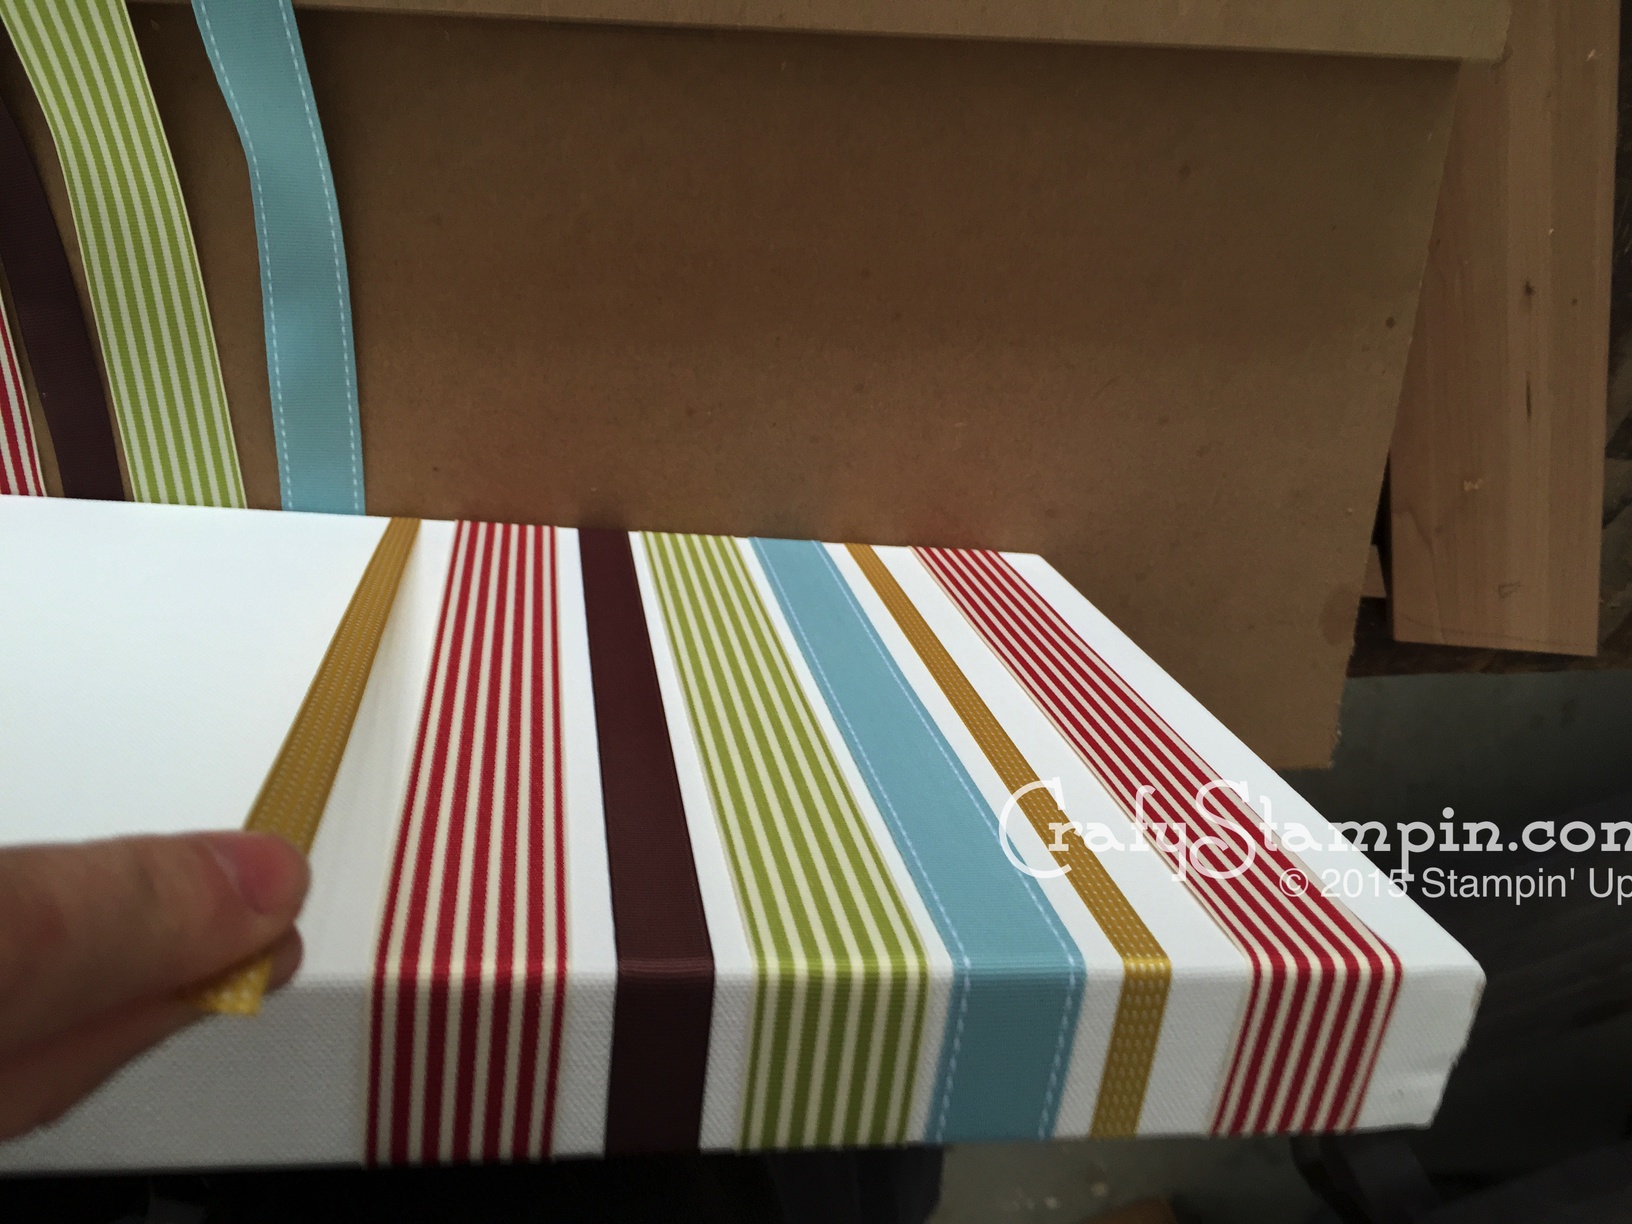
Make sure you keep and eye on the spacing of the rows.
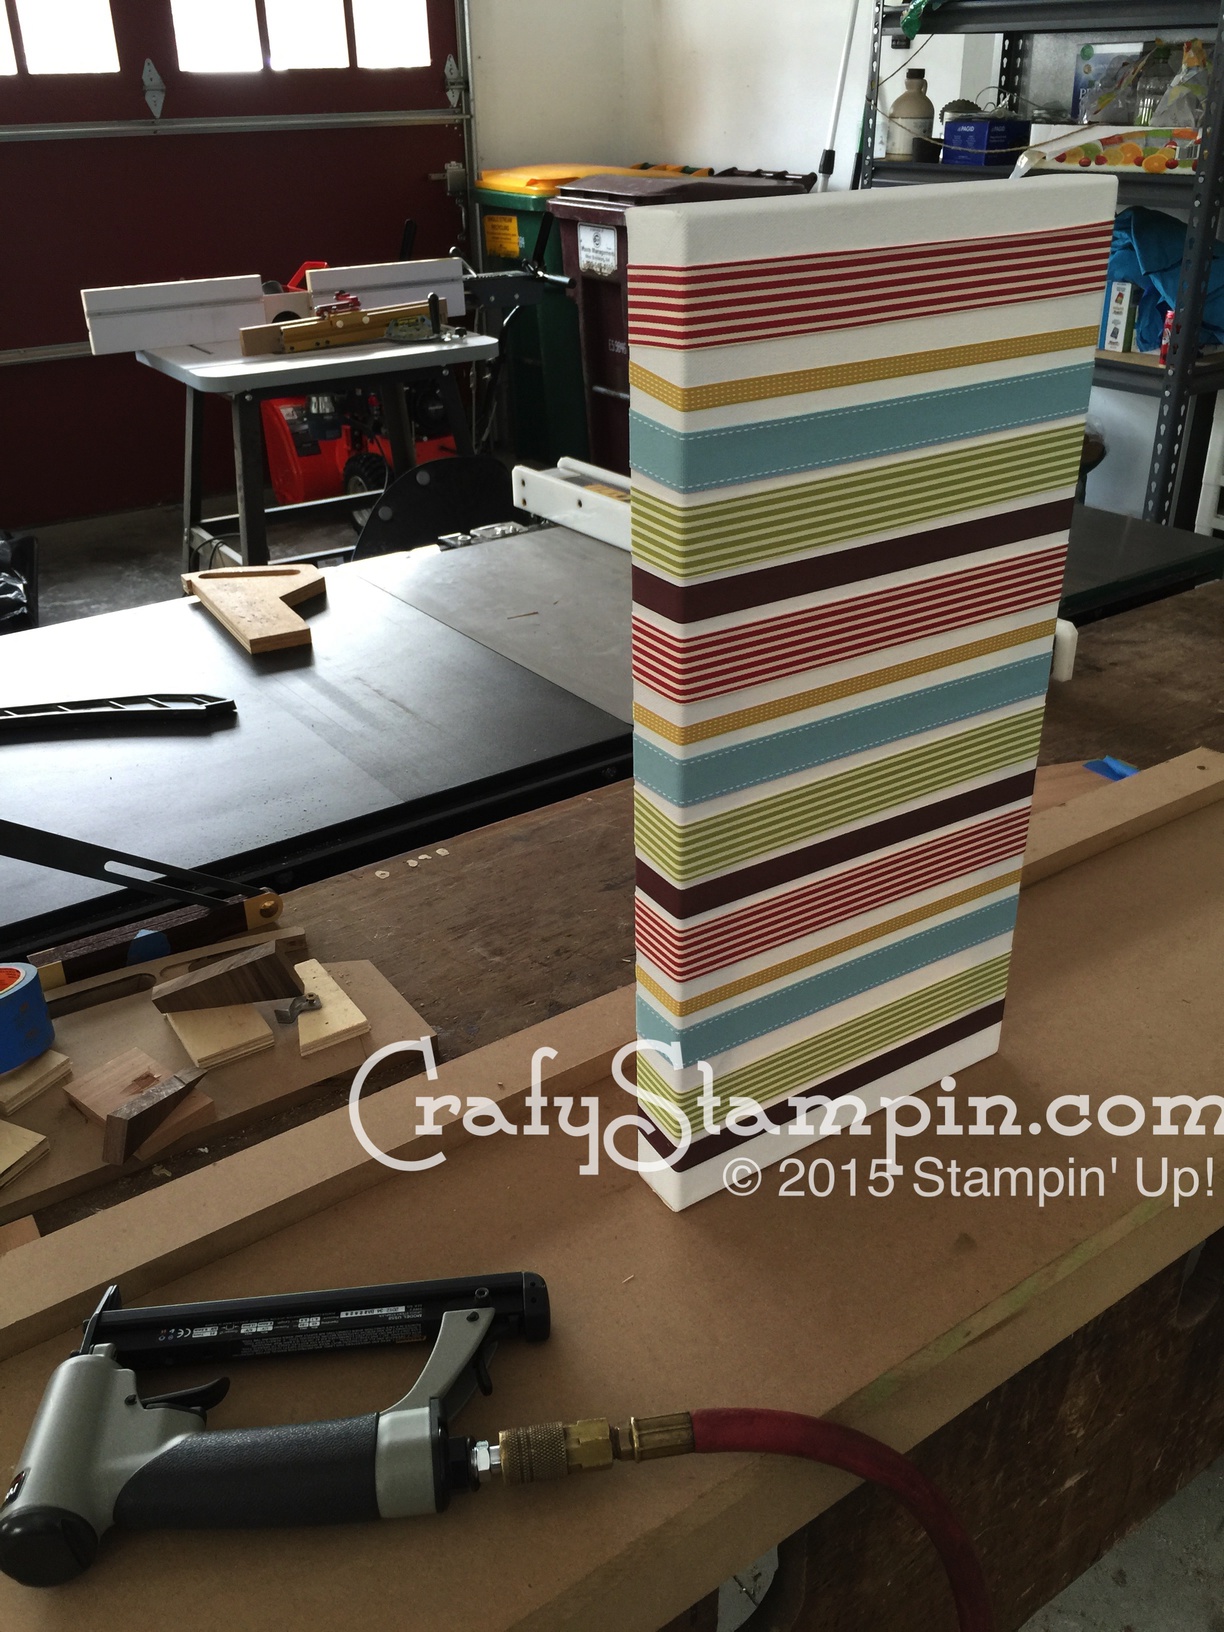
Ta Da ….
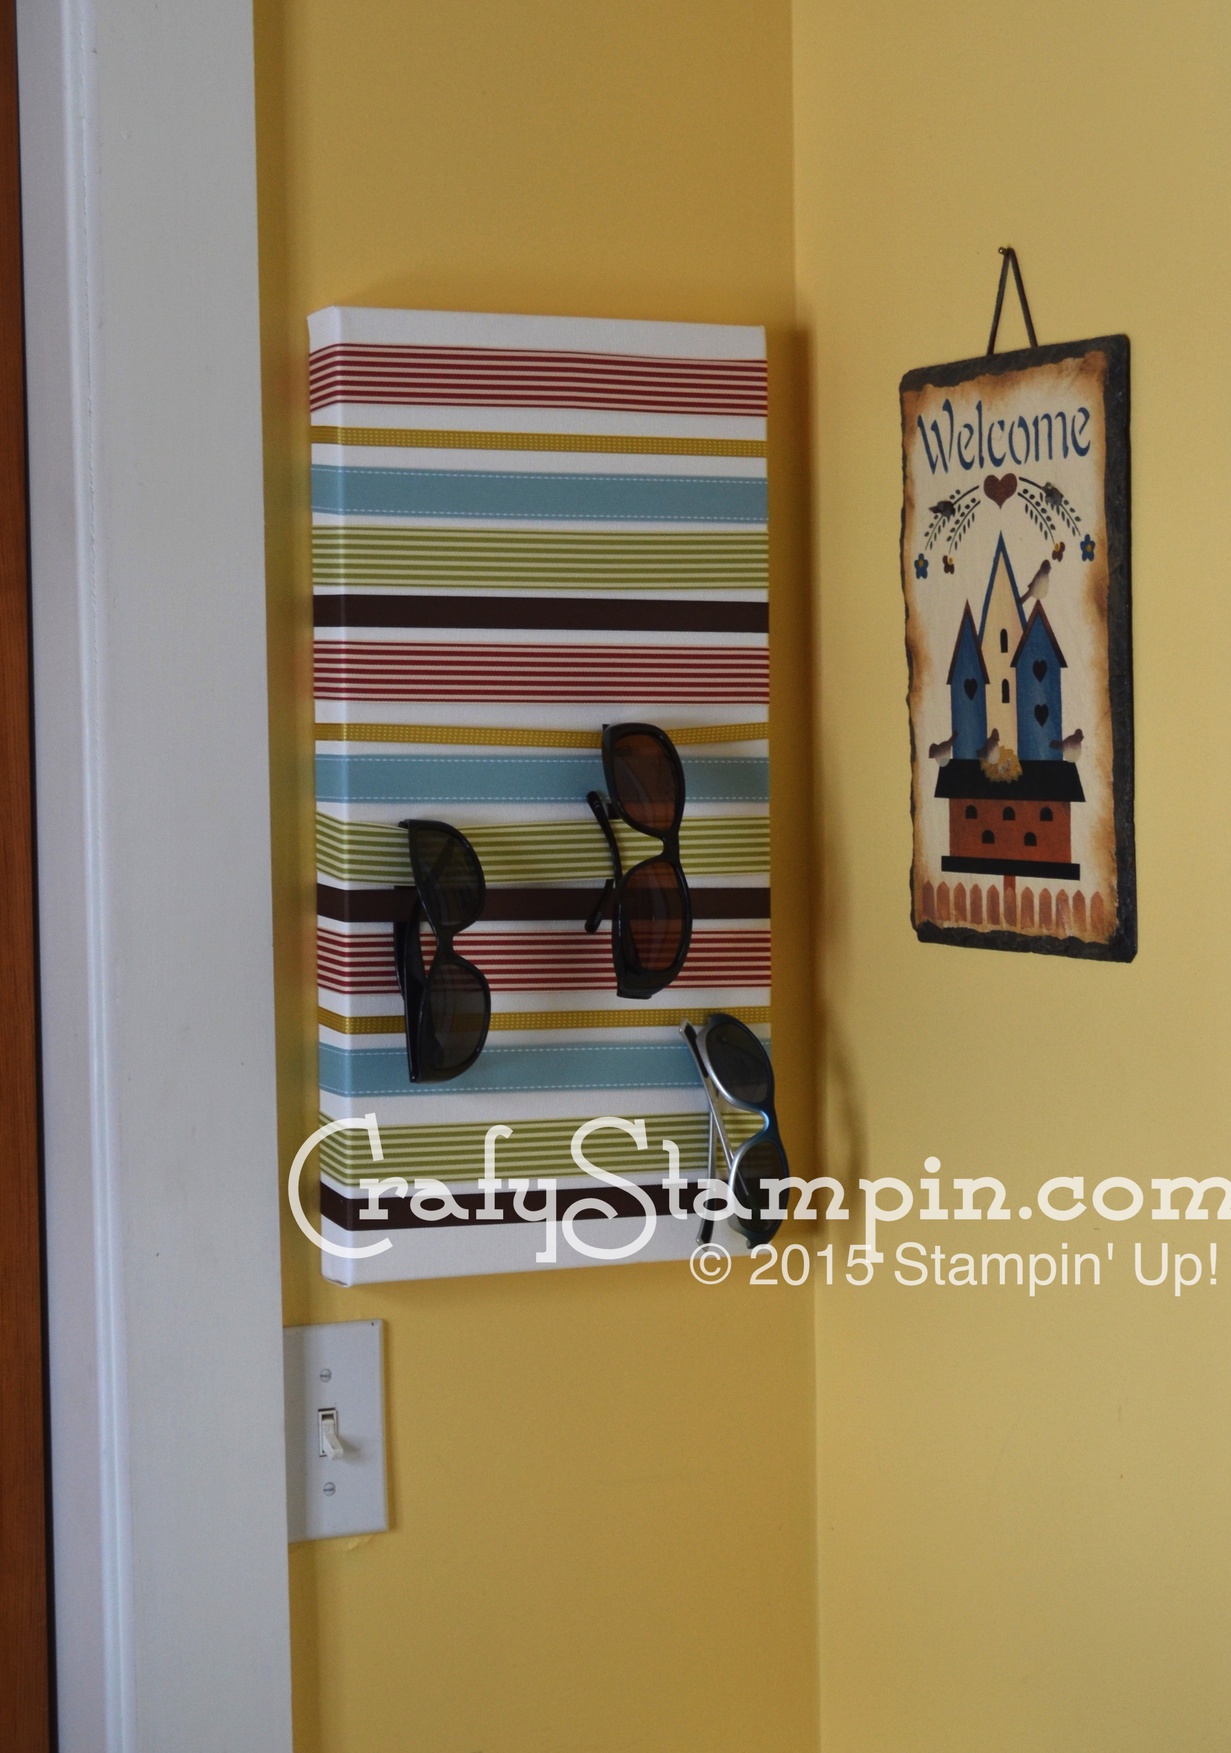
Here it is up on my wall! I’m super excited. Hope you liked it!
Happy Stampin”