
Welcome to International Visual Blog Hop. We are all using current Stampin Up Product. I’m Linda Cullen from Massachusetts, USA and you are visiting my blog Crafty Stampin’. I’m so excited to be participating in this blog hop! At the bottom of my post you will find a grid of photos with all the participating blog hoppers so you can move along from blog to blog and see all the fantastic projects, please be sure to checkout each one.
Bow Gift Card Holder
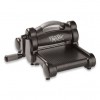
I have made this Bow Gift Card Holder for years to sell at craft fairs and they have alway’s been a huge hit. I was using the now retired Stampin Up Gift Bow Die (but good news…it’s on clearance!) I’ve been asked multiple times to do a detailed video on how to recreate this, so I’ve reworked the card to a bow you make with your Envelope Punch Board…..and I’ve provided a video tutorial!!!
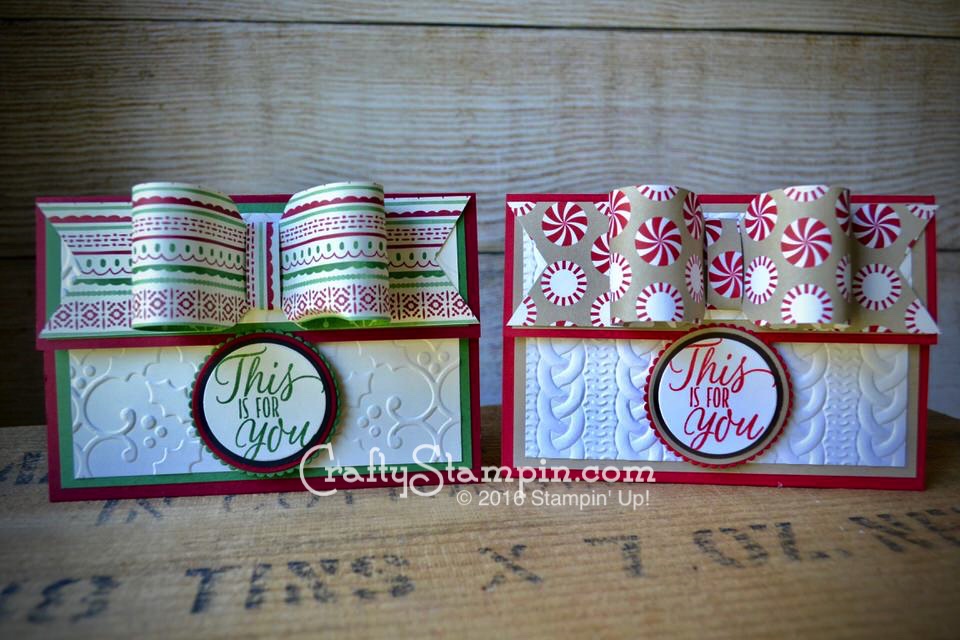
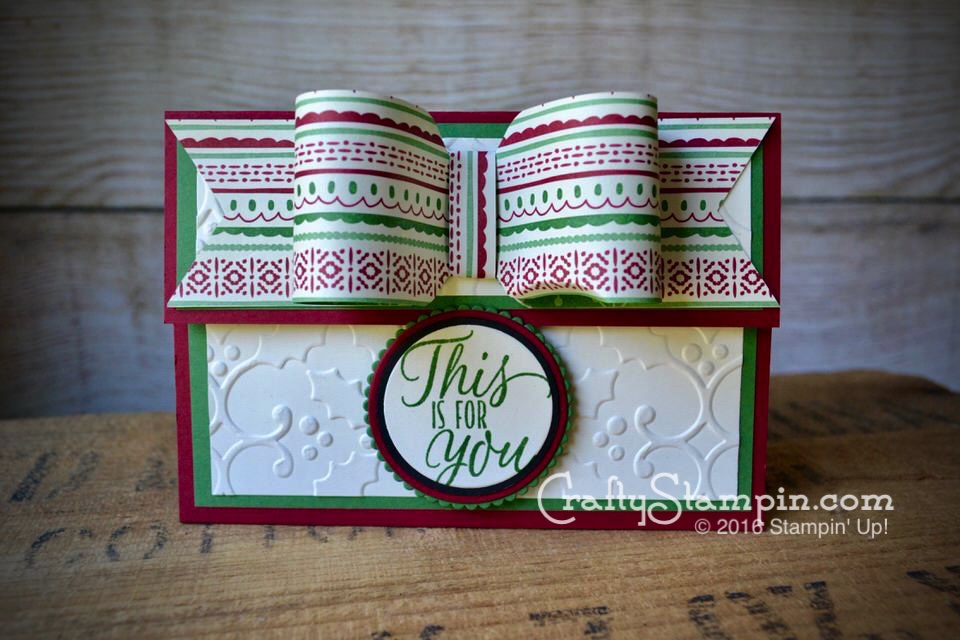
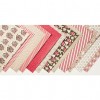
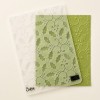
The first Bow Gift Card holder is made with the This is Christmas Specialty DSP. This paper is so great, it’s a bit thinner than the traditional DSP that Stampin’ Up produces so it bends really nicely and there are 24 sheets – 4 of 6 different 2 sided designs.
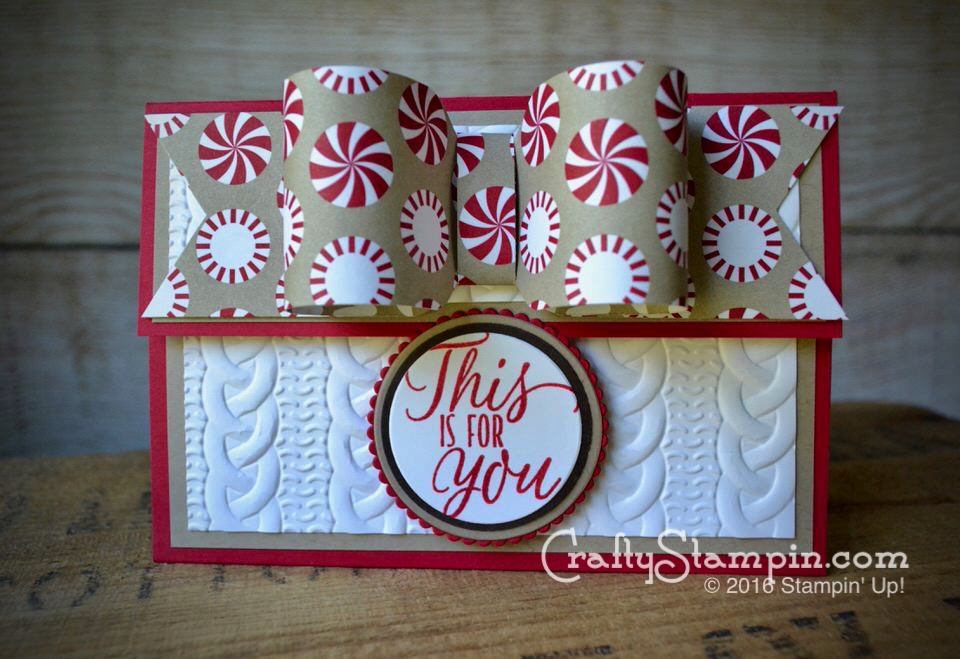
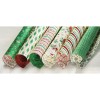
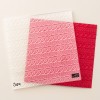
My second card feature the Candy Cane Lane DSP which is part of our current DSP sale, buy 3 get one free.
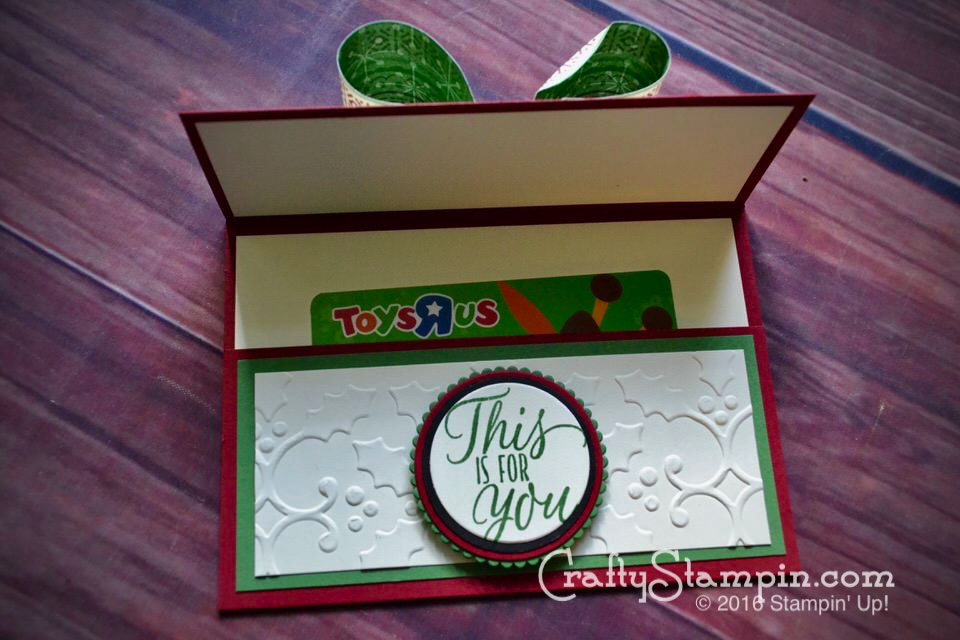
Once you open the Gift Card Holder, you have a little pocket for your gift cards (or actual cash), and a little note.
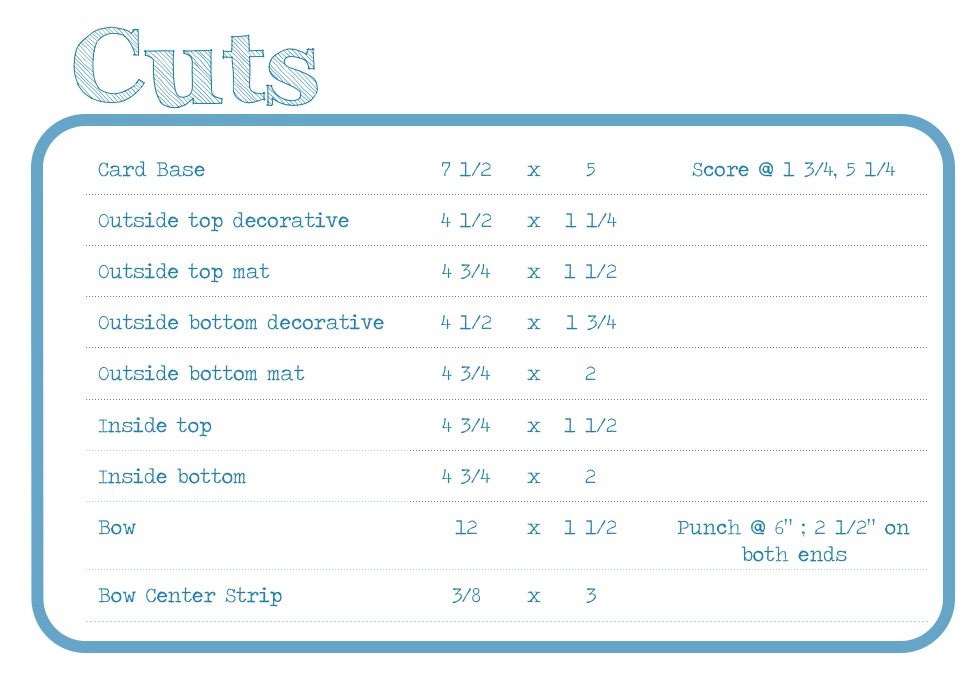
Gift Card Cuts
Instead of giving the paper colors to cut, I only gave your the panel types so you can easily use any DSP and change up your gift card holders.
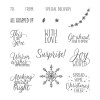
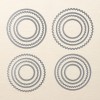
The circles I used for the greeting are as follows (bottom to top):
I lined up all my smooth circles up Largest to Smallest and numbered them 1 – 8, and my Scallop Circles Largest to Smallest and labeled them A – H. Now I can just list the letter/number combination of my layered dies.
- Scallop – F
- Circle – 6
- 1 1/2 Punch
- Greeting – 7
Video
Blog Hoppers
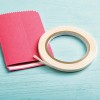
Card Supplies
Click on any photo below to purchase product from my online store


Crafty Stampin’ Specials
Discover more from Crafty Stampin'
Subscribe to get the latest posts sent to your email.
Thanks! I’ve been asking for a tutorial on this. I’m looking forward to meeting you in NJ.
A wonderful project you have created Linda. Angela – Australia
What a great gift card holder. Wonderful project. -Satomi from Australia
Nicely done and easy to follow step by step video! I can’t wait to create some of these BOWtiful gift card holders!
Oh my gosh, these are adorable! xx
So cute!
What a perfect idea for a gift card holder! Love your tutorial too! Thanks for sharing!
I adore your work, this Gift Card holder is gorgeous. I will watch your tutorial as I would like to case this if you don’t mind. Thank you. Christine from Australia
CASE away!!! Thank you