![]()
You Can Create It – September Challenge | Featuring the Amber Autumn Stamp Set
- You Can Create It - September Challenge | Featuring the Amber Autumn Stamp Set
- 📨 September Envelope Contents + Extras Pack
- 💌 My Project: Amber Autumn
- 🎨 Why I Love This Challenge
- 🌍 Meet the YCCI Team
- 🎁 Want to Play Along?
- Additional Amber Autumn Cards Shared
- Color Palette
- Amber Autumn Project Supplies
I’m thrilled to share my project for this month’s You Can Create It (YCCI) international design challenge! This fun, global Stampin’ Up!® collaboration, founded by the talented German demonstrators Anja Luft and Heike Fallwickl, encourages crafters everywhere to stretch their creativity with just a limited set of supplies. It’s always amazing to see how many unique projects can come from the same materials!
✂️ What is “You Can Create It”?
Every quarter, participants receive a kit with four monthly envelopes plus one bonus “extras” envelope. Each month we open that envelope and design a project using only the contents provided (plus items from the extras pack and any finishing touches we want to add).
On the 2nd of each month, our international team of demonstrators shares projects to spark your creativity. And here’s the best part: you can join in too! 🥳
👉 Grab your own YCCI Kit, create along with us, and share your masterpiece in my Crafty Stampin’ VIP Stampers Facebook group or on social media with the hashtag #YCCI.


Fun fact: “Mach was draus” means “Make something of it!” in German—and that’s exactly what we aim to do.
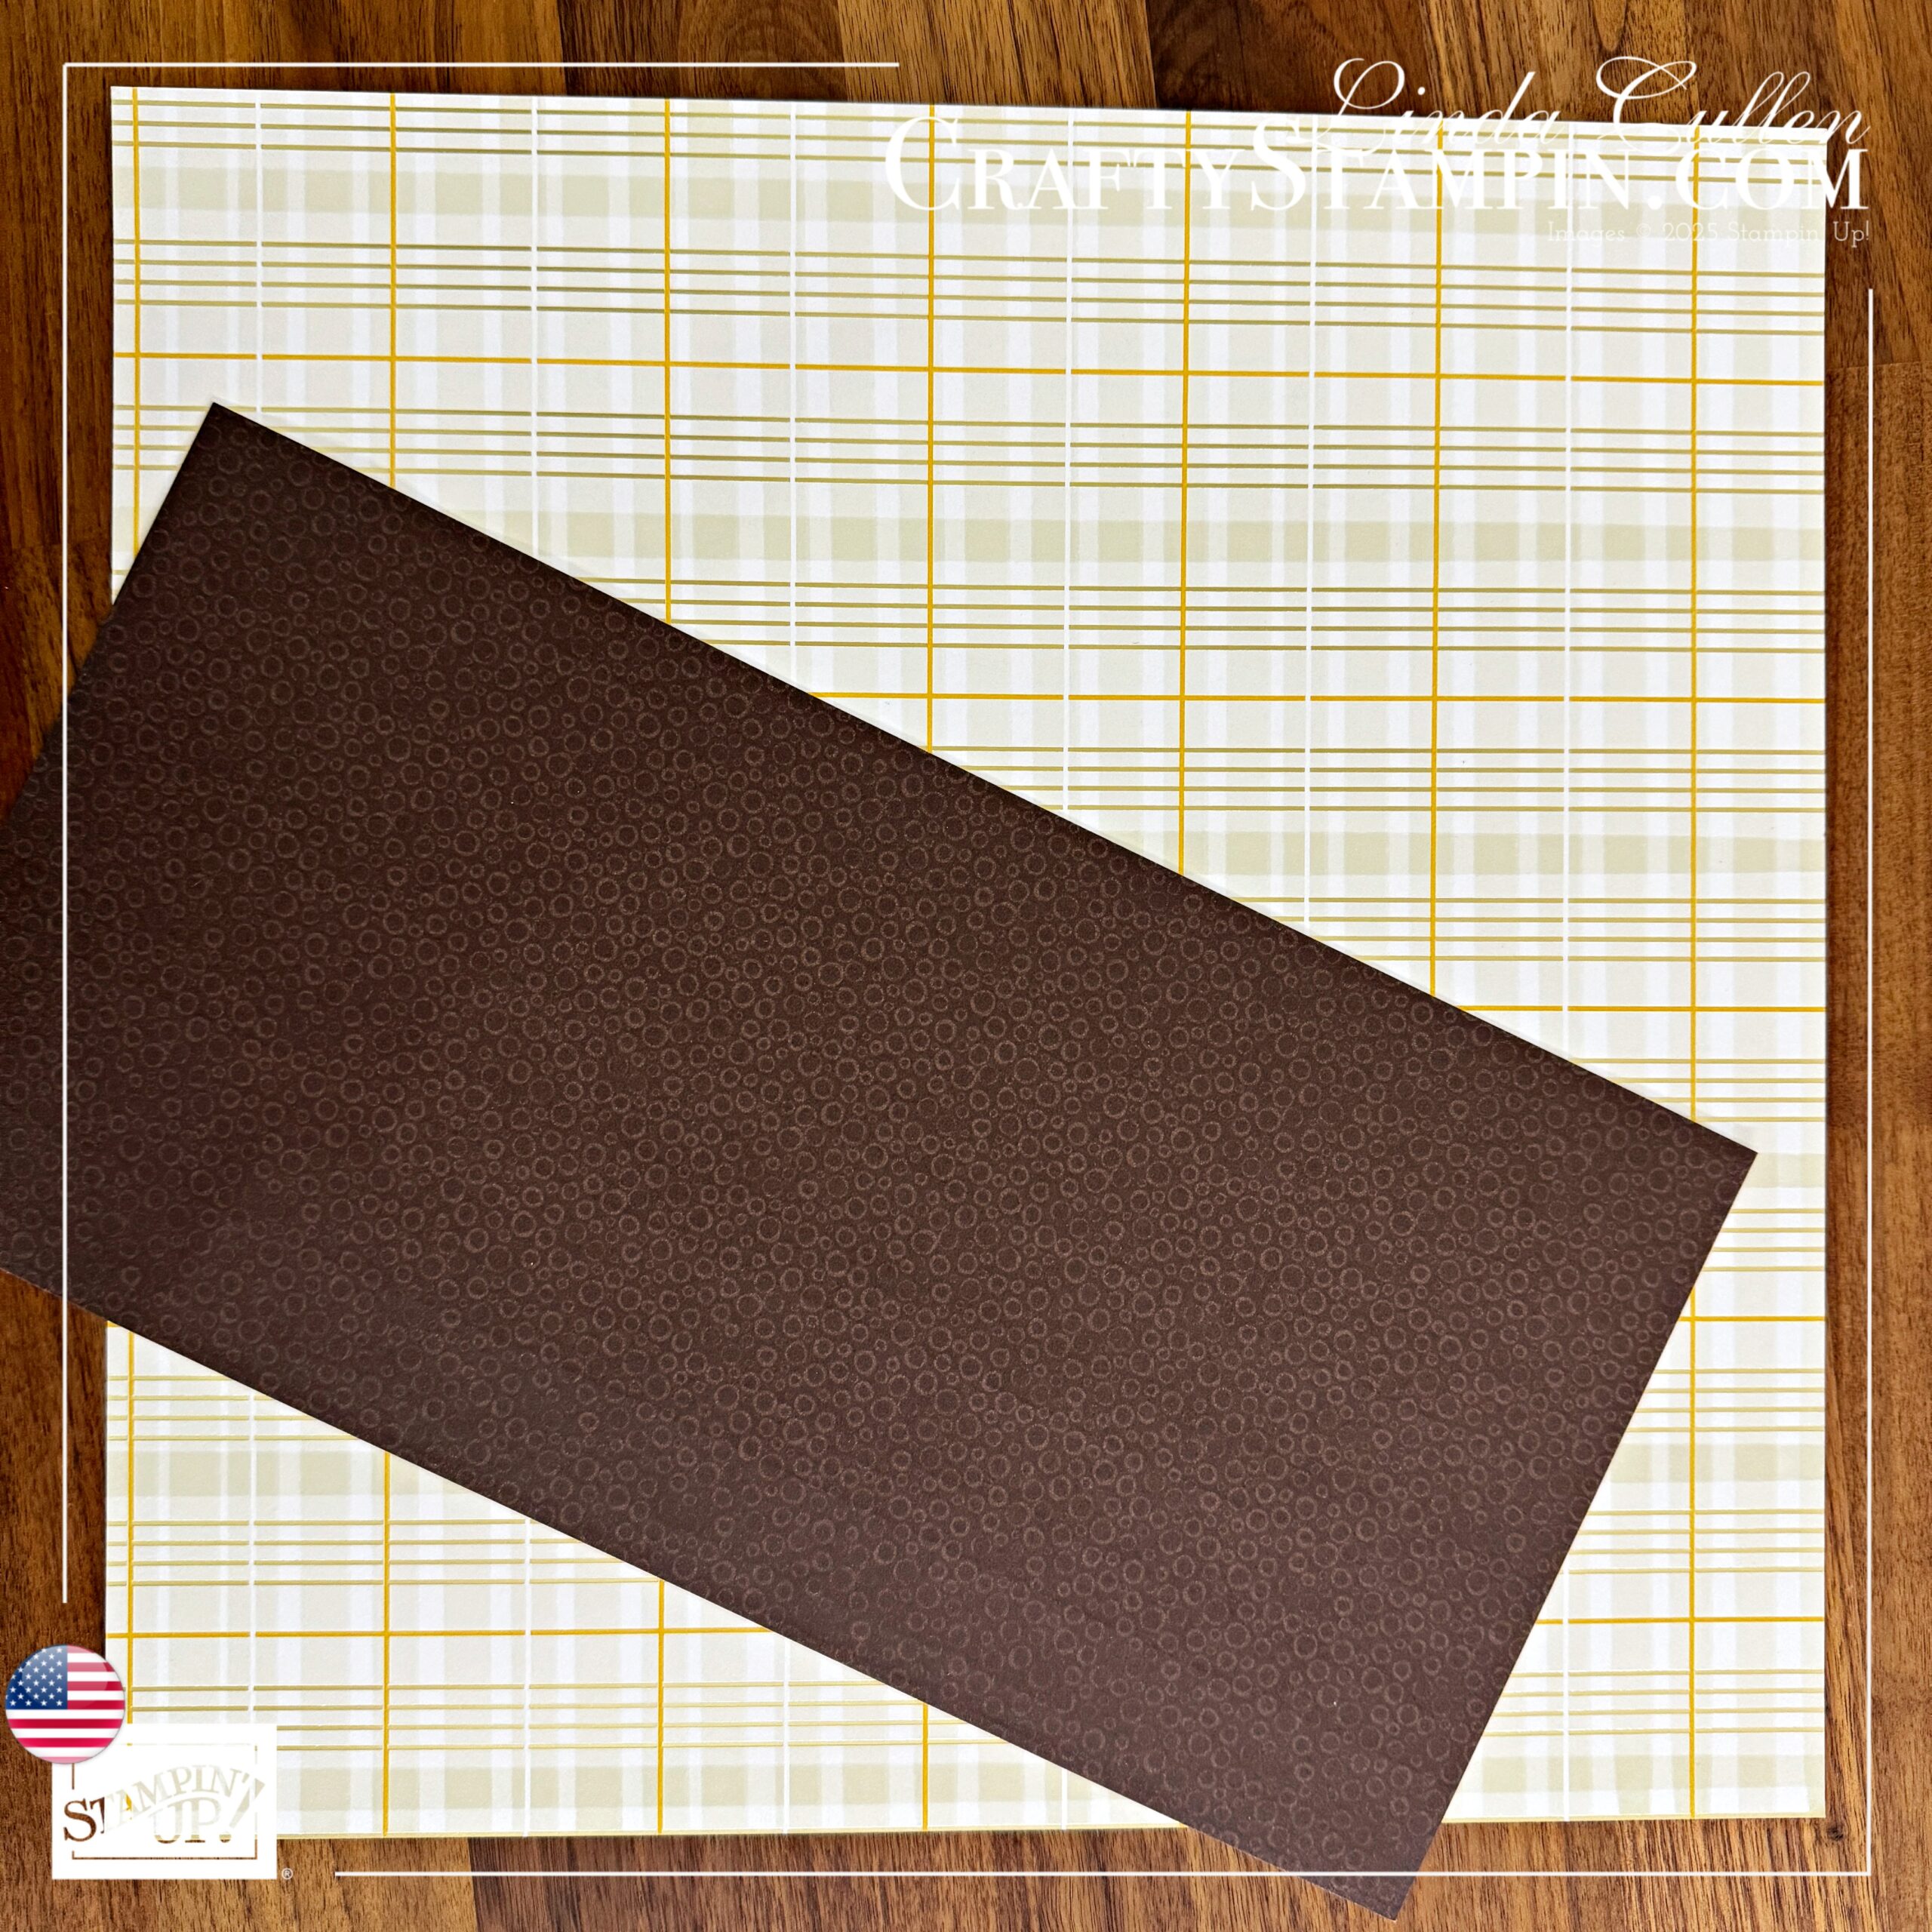
📨 September Envelope Contents + Extras Pack
Here’s what we had to play with this month:
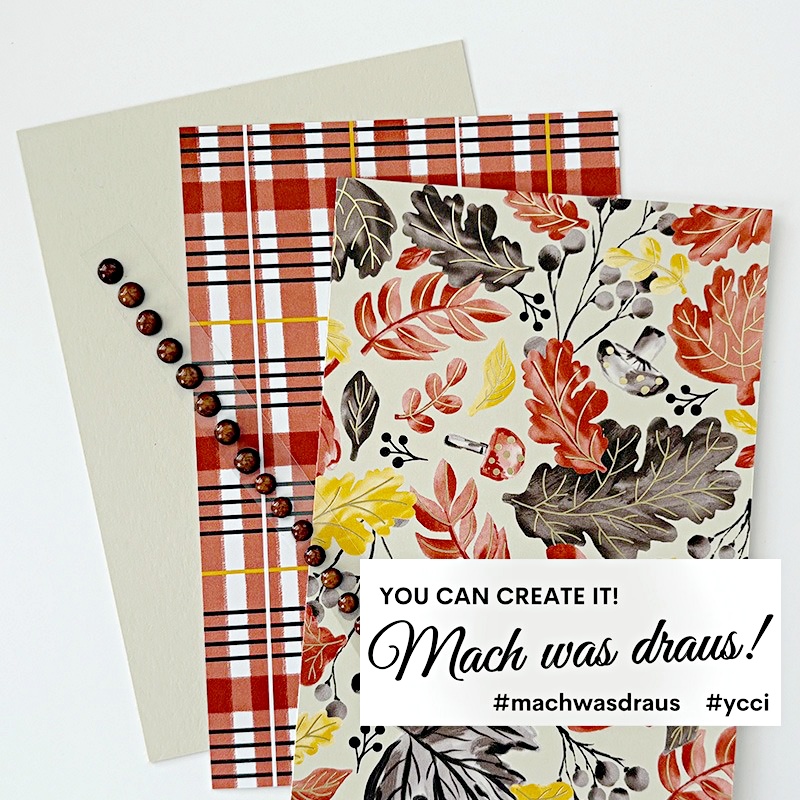
September Envelope:
- 2 pieces (4” x 6”) Gathering Together Spec. Designer Series Paper
- 1 piece (4-1/4″ x 5-1/2″) Basic Beige Cardstock
- 16 pieces Streaked Dots
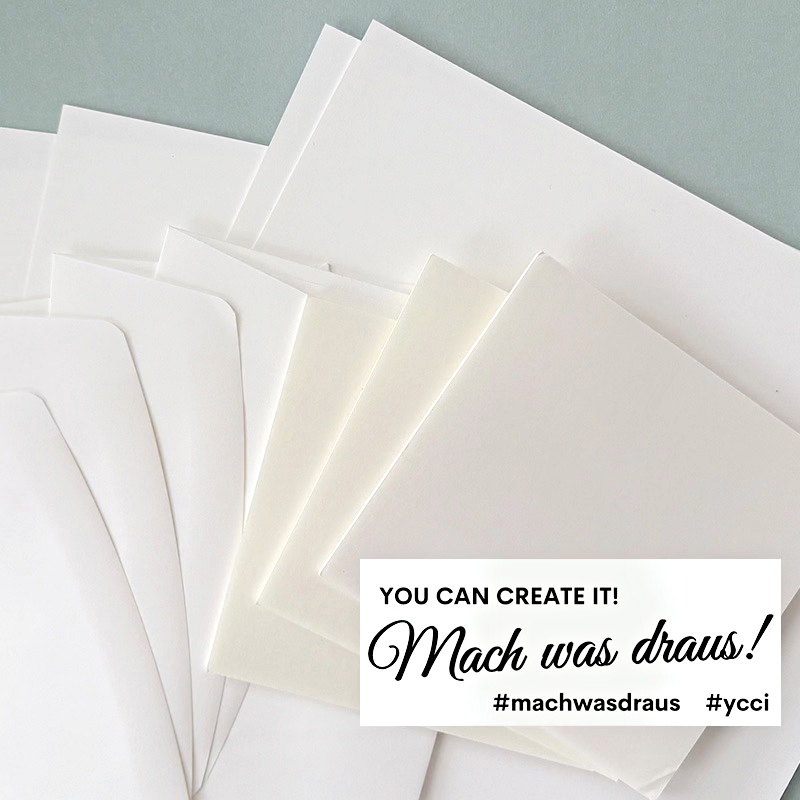
Extras Envelope:
- 4 sheets (8-1/2” x 11”) Basic White Cardstock
- 2 sheets (8-1/2” x 11”) Thick Basic White Cardstock
- 4 Basic White Envelopes
- 3 sheets Foam Adhesive Sheet
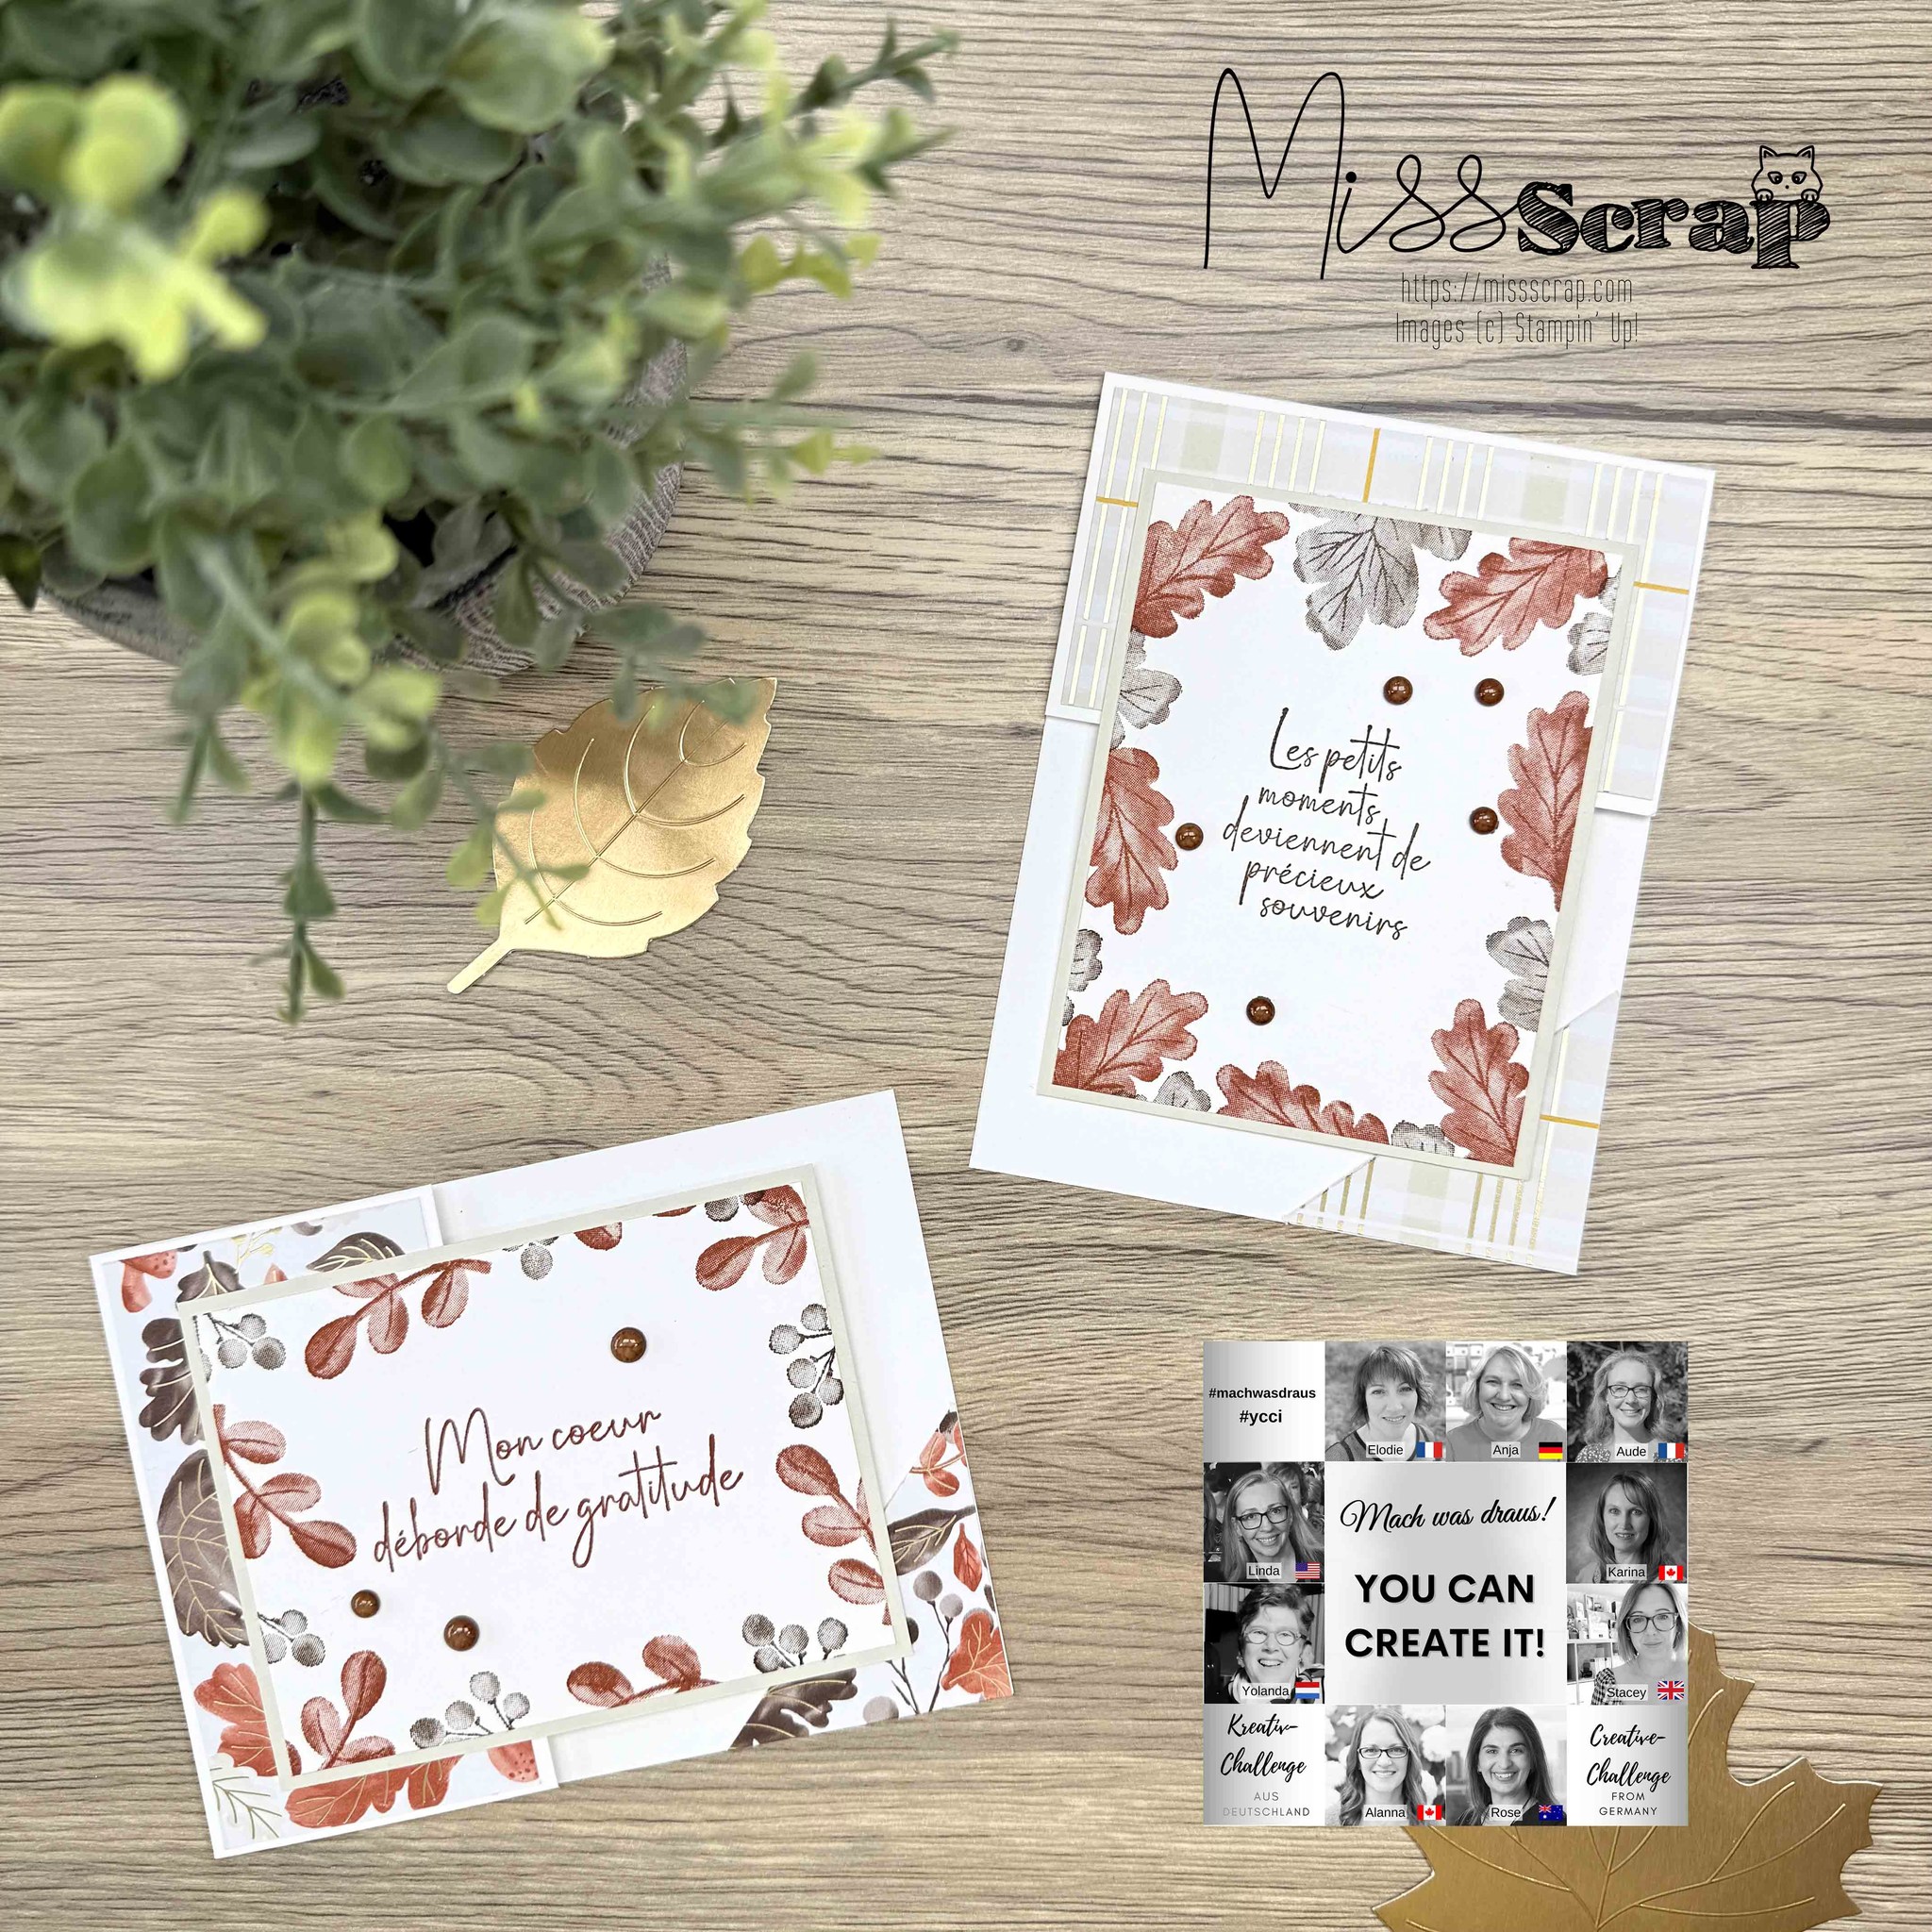
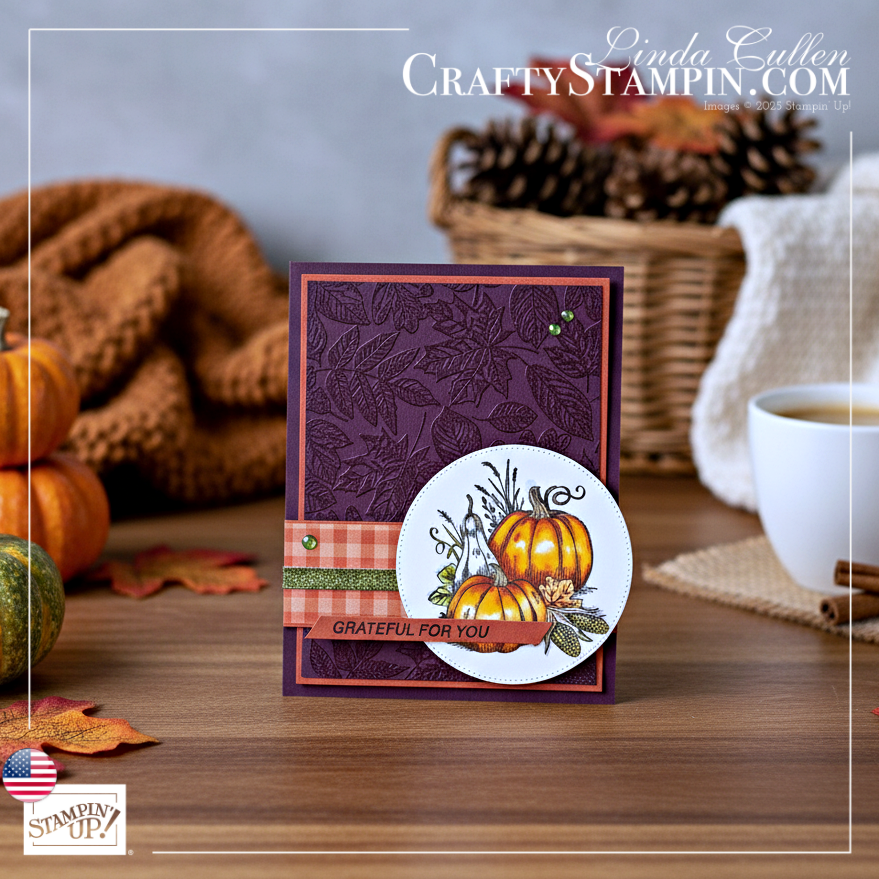
💌 My Project: Amber Autumn
Happy fall, y’all! I built my card around the Gathering Together Specialty DSP and stretched the Basic Beige panel to cover multiple layers.

Supplies & Tools (in addition to the kit)
- Amber Autumn Stamp Set
- Traditional Labels Dies
- Exposed Brick 3D Embossing Folder
- Early Espresso Classic Ink
- Paper Trimmer, Die-Cutting Machine, Adhesive
- Streaked Dots (from the kit)
Finished Size
- Standard A2 card: 4-1/4″ x 5-1/2″ (portrait)
- Card base: Thick Basic White (from Extras)
Cut List & Layout (Maximize Your Pieces!)
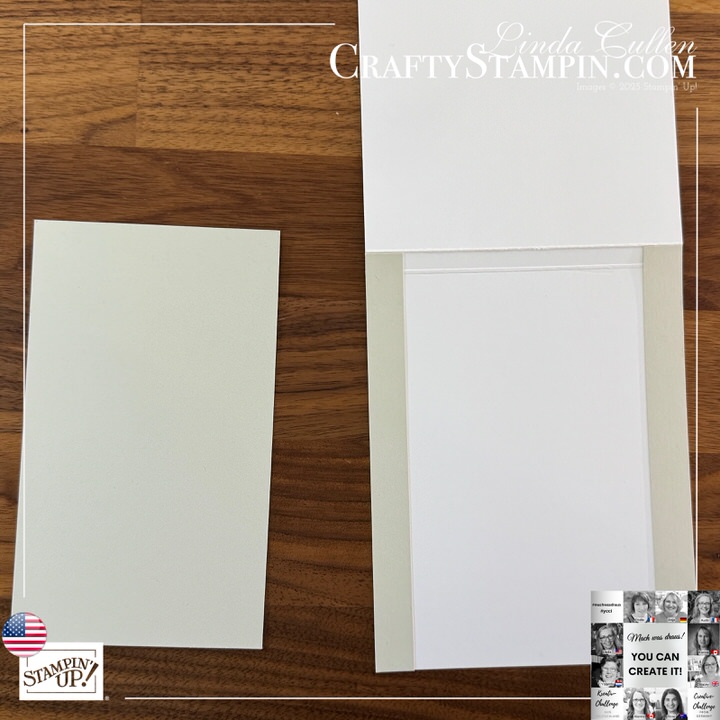
From Basic Beige (4-1/4″ x 5-1/2″):
- Cut two side strips: (2) at 1″ x 5-1/2″
- Cut center panel: 2-1/4″ x 5-1/2″
- Die-cut a small Traditional Label from the upper–middle of this center panel (it will be hidden later), then emboss the panel with Exposed Brick 3D.
- Stamp greeting from Aumber Autumn Stamp Set on the small Traditional Label in Early Espresso Ink.
Why this order? Die-cut first, emboss second—so you don’t flatten your texture. Also, die-cutting from a hidden area lets you “steal” a label without wasting cardstock. Efficient and sneaky. I approve. 😎
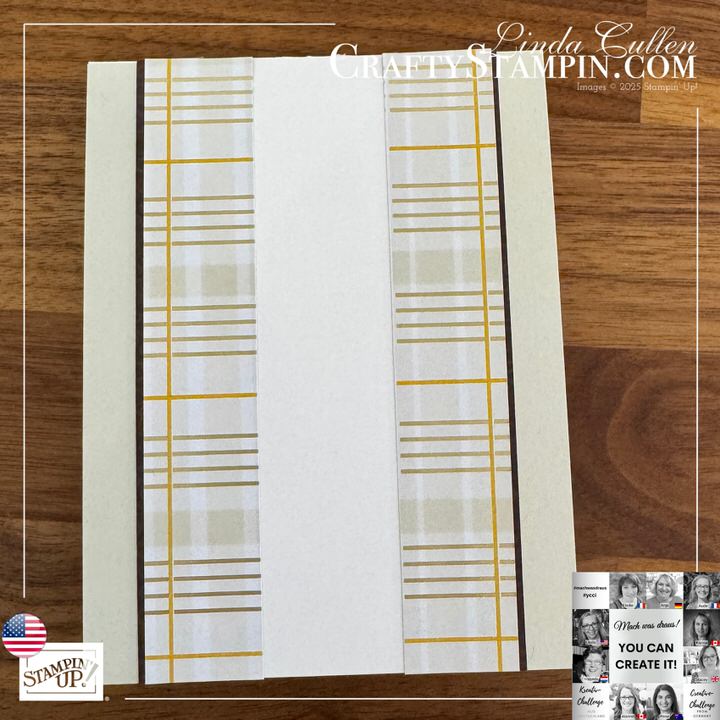
From Gathering Together Spec. DSP (two pieces at 4″ x 6″):
- Plaid piece
-
- Cut (2) strips at 1″ x 5-1/2″
- Reverse side of plaid (Early Espresso with small circle pattern)
- Trim (2) accent slivers at 1″ x 5-1/2″ (these create a crisp transition between beige and plaid)
-
If your DSP pattern is directional, watch your grain before cutting. If it isn’t, enjoy the freedom and just go for best pattern placement.
- Floral pattern piece
-
- Die cut with larger Traditional Label
-
Assembly
- Card Base: Fold Thick Basic White to A2 (4-1/4″ x 5-1/2″).
- Beige Side Panels: Adhere the two 1″ Basic Beige strips to the left and right edges with Seal.
- DSP Layers:
- Adhere the Early Espresso accent slivers to the back of the two plaid strips leaving just a sliver peaking out with Seal.
- Add the two plaid 1″ strips on top of the beige sides with Seal.
- Beige Center Panel: Adhere the embossed 2-1/4″ panel down the middle with Seal.
- Labels: Layer the Floral Pattern Piece (DSP) under the stamped small Traditional Label (pop with Dimensionals). Then attach to the card base with Dimensionals.
- Embellishments: Finish with 3 Streaked Dots. Triangles are your friend—one cluster, balanced near the focal point.
(Ignore the scoring goof you may spot in my first photo—proof that handmade is human, and that Designer Series Paper panels forgive a lot!)
![You Can Create It - International Challenge & Inspiration - September 2025 | Join Stampin’ Up! | Frequently Asked Questions about becoming a Stampin’ Up! Demonstrator | Join the Craft Stampin’ Crew | Stampin Up Demonstrator Linda Cullen | Crafty Stampin’ | Purchase Stampin’ Up! Product | FAQ about Paper Pumpkin | FAQ about Kits Collection | Online Exclusive Products | Amber Autumn Stamp Set [165883] | Gathering Together Specialty Designer Series Paper [165969] | Exposed Brick 3D Embossing Folder [161600] | Traditional Labels Dies [165864] | Streaked Dots [165902] |](https://www.craftystampin.com/wp-content/uploads/2025/10/Linda-Stevens-Cullen.jpg)
🎨 Why I Love This Challenge
The magic of YCCI is seeing wildly different ideas emerge from the same kit. No two projects are alike, and the creativity from our global team never fails to inspire me. I hope it inspires you too!
Be sure to scroll down to see what the rest of the team designed this month. And don’t forget—you can create it, too!
👉 Click here to get your own YCCI Kit and start creating!
🌍 Meet the YCCI Team
Check out the amazing demonstrators who make this challenge possible! Click their names to visit their websites, then search for “You Can Create It” to see their challenge projects:
- Anja Luft – Germany

- Karina Chin – Canada
- Alanna Klemick Wharf – Canada
- Aude Barbara – France
- Rose Packer – Australia
- Elodie Tanchaud – France
- Stacey Marsh – England
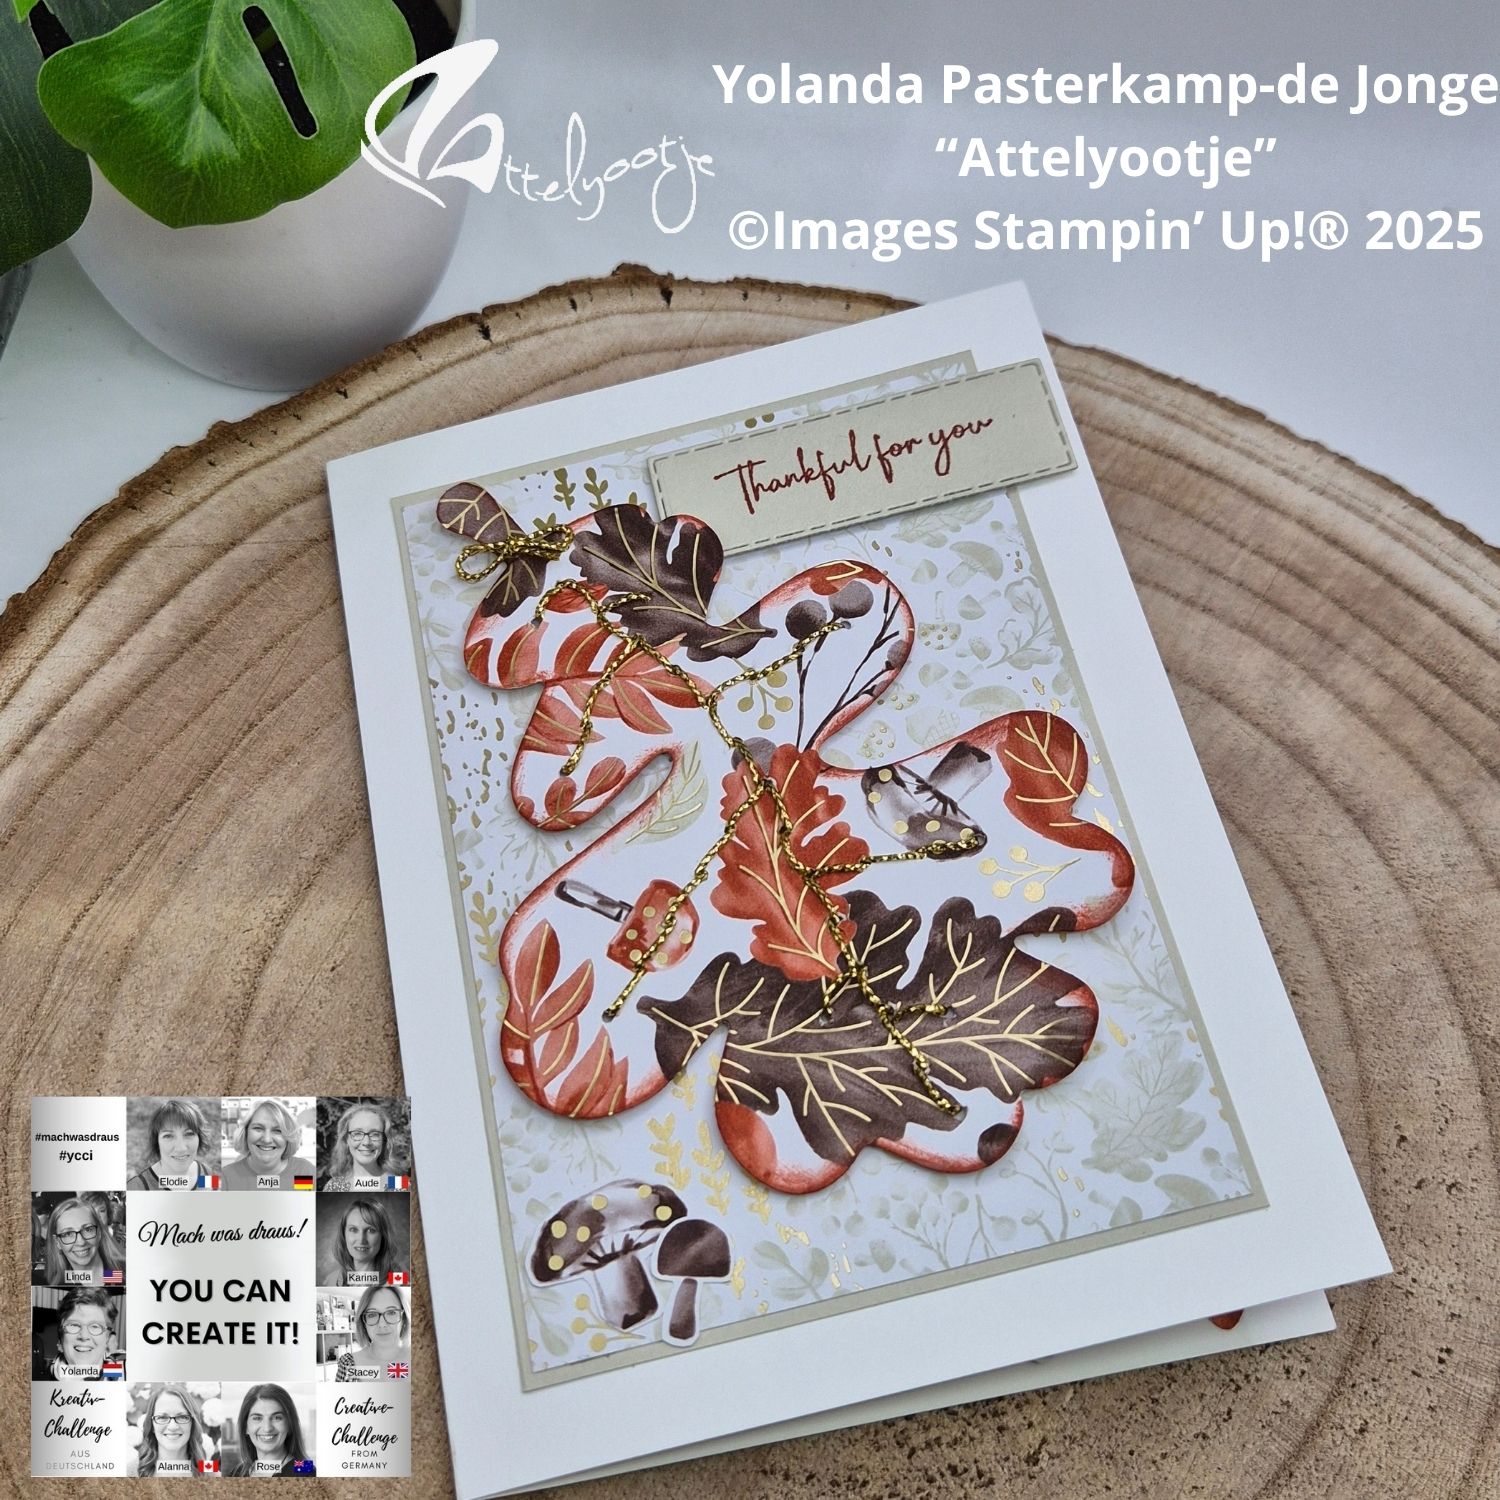
- Yolanda Pasterkamp – Netherlands
🎁 Want to Play Along?
For just $25.00, you’ll receive the official You Can Create It Kit:
- 4 monthly project envelopes
- 1 extras pack
- Shipping included!
Each month, you’ll find new inspiration from me and the YCCI team. Then share your creations on my Crafty Stampin’ VIP Stampers Facebook Page so we can cheer you on.

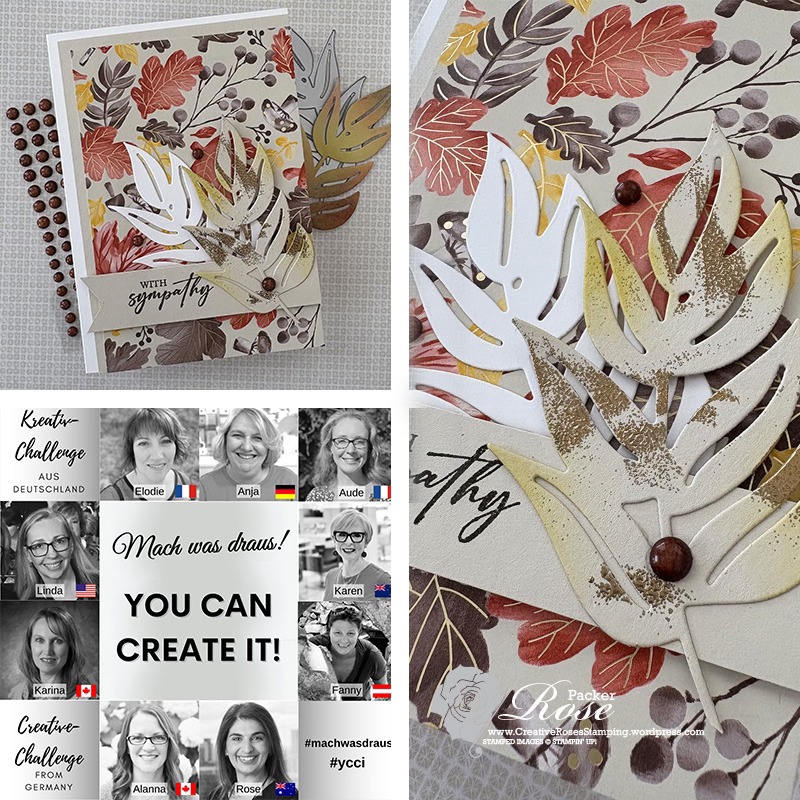
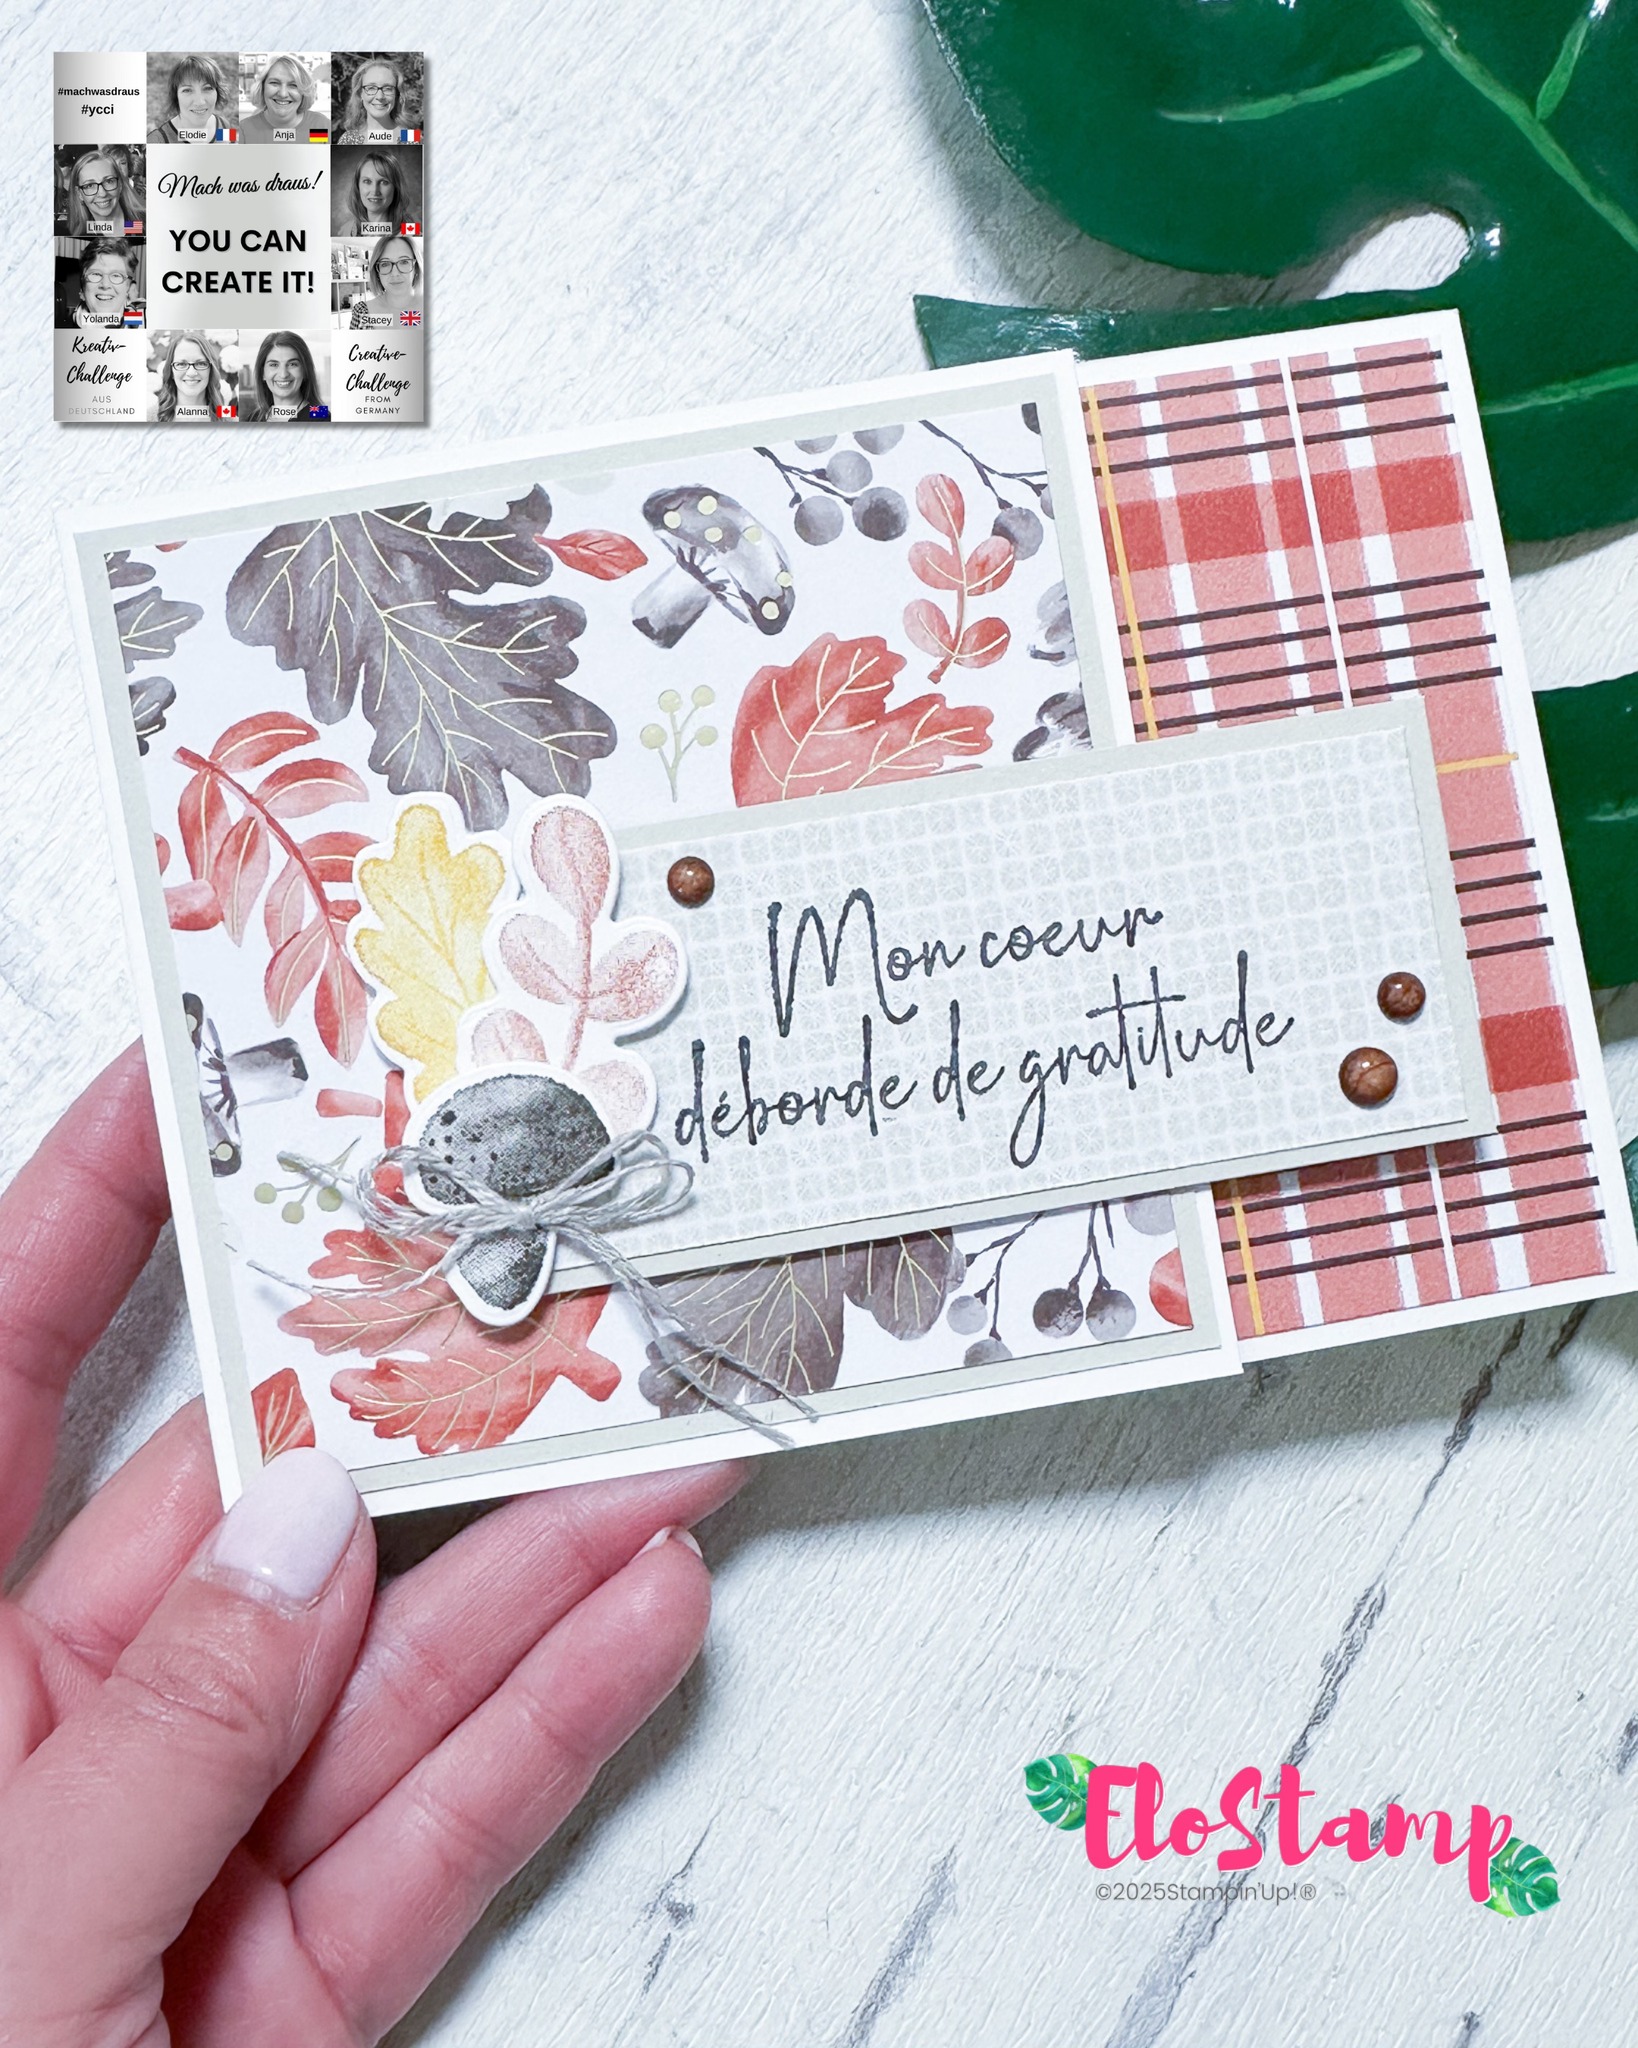
Additional Amber Autumn Cards Shared
Here are other cards I’ve shared with this same set; click any picture to visit the original post. (This gallery will update over time.)
Color Palette
Amber Autumn Project Supplies
Click any photo below to shop my online store.
(Thank you for supporting my small business—it keeps the tutorials coming!)
Discover more from Crafty Stampin'
Subscribe to get the latest posts sent to your email.