
Frosted Pinecones Christmas Card with a Surprise Shaker Ornament

Frosted Pinecones Christmas Card with a Surprise Shaker Ornament
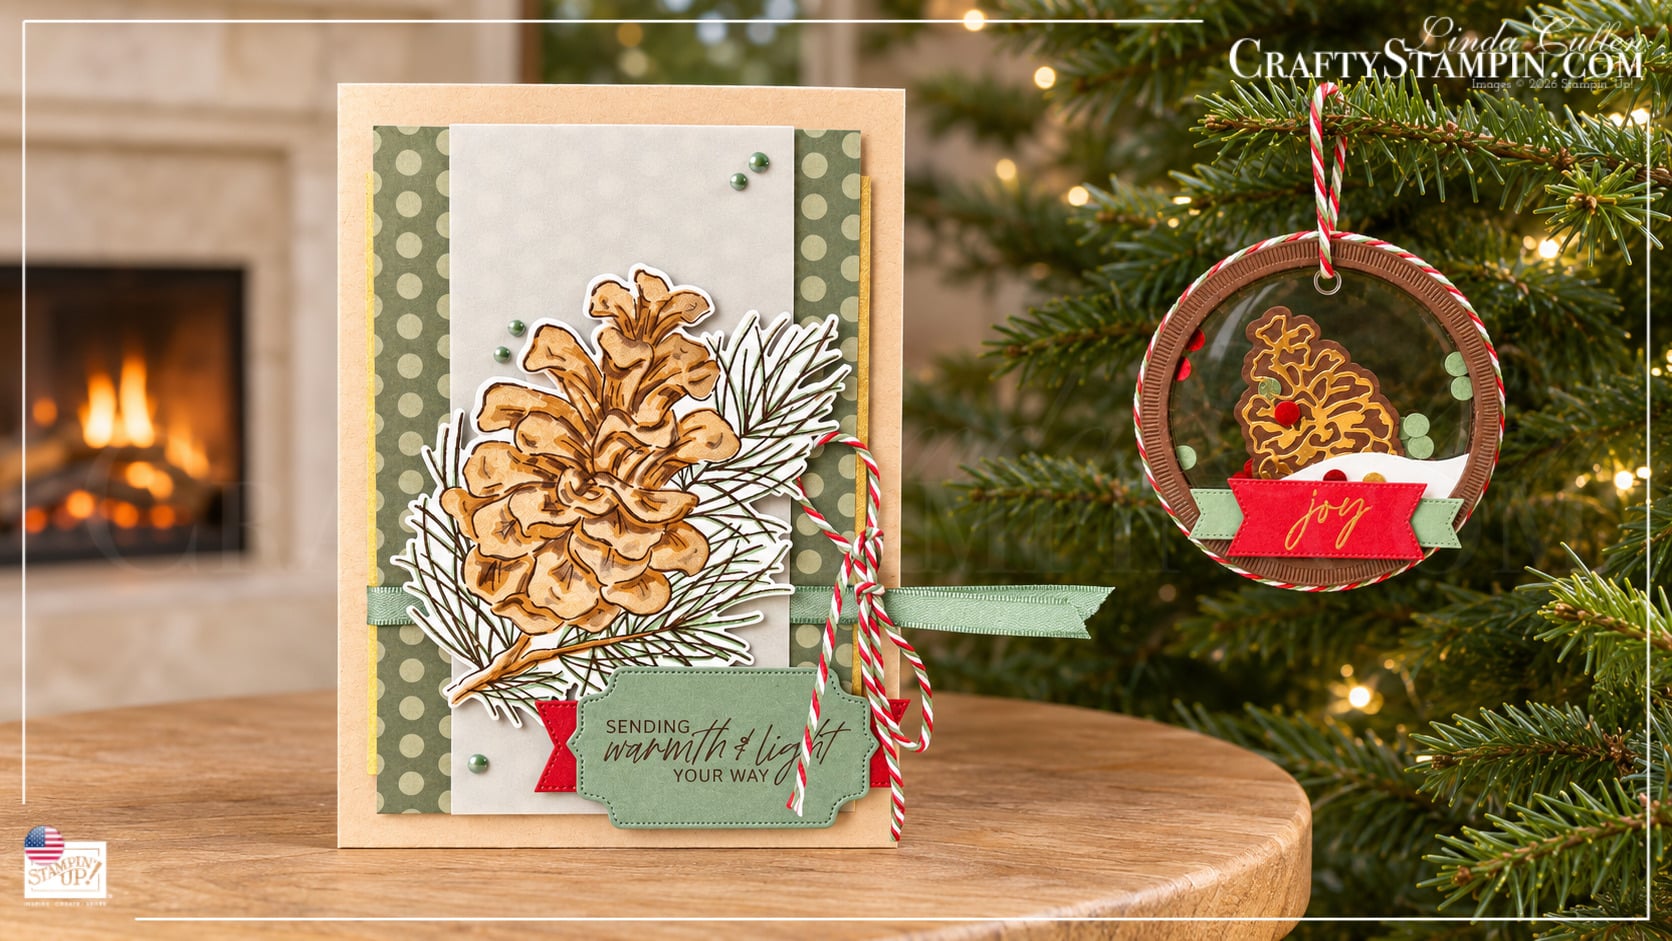
Welcome to the Team Stamp It Christmas Blog Hop! This month, I made a Frosted Pinecones Christmas card with a little JOY tucked inside. Open the card, swing out the clear pocket, and slide out a pinecone shaker ornament ready to hang on the tree. A handmade card and a little Christmas gift, all in one!
A Frosted Pinecone for the Card Front
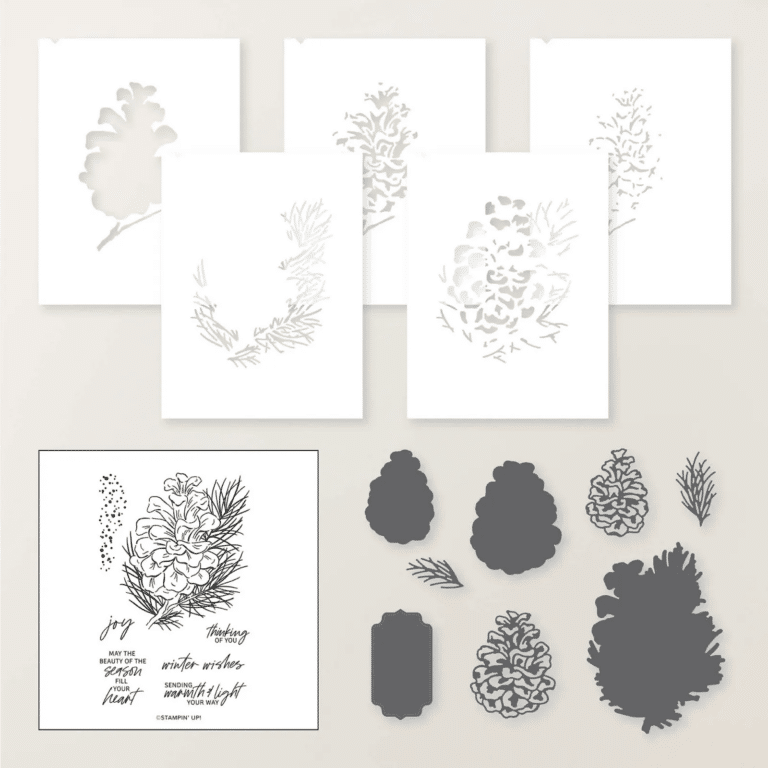
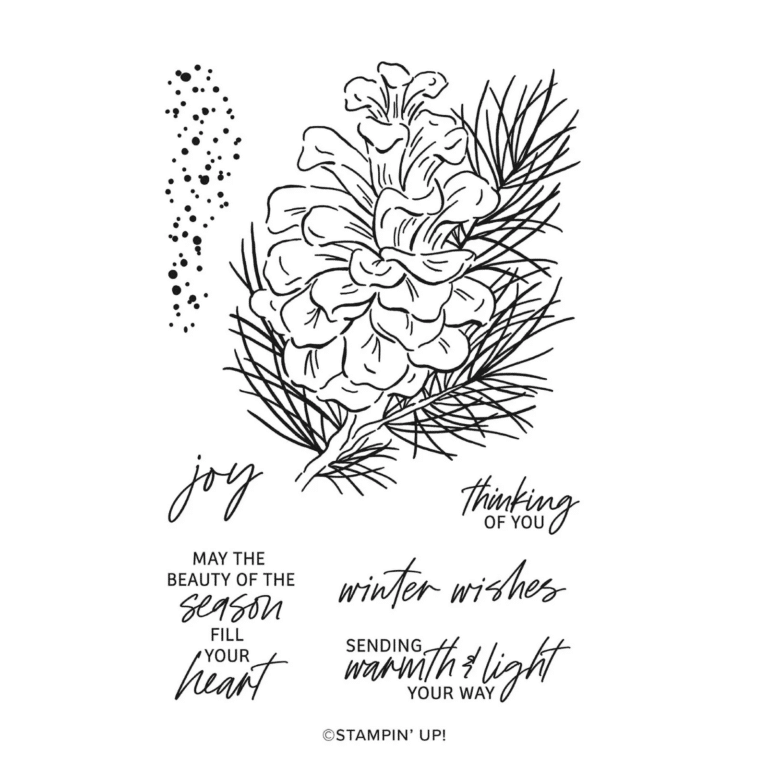
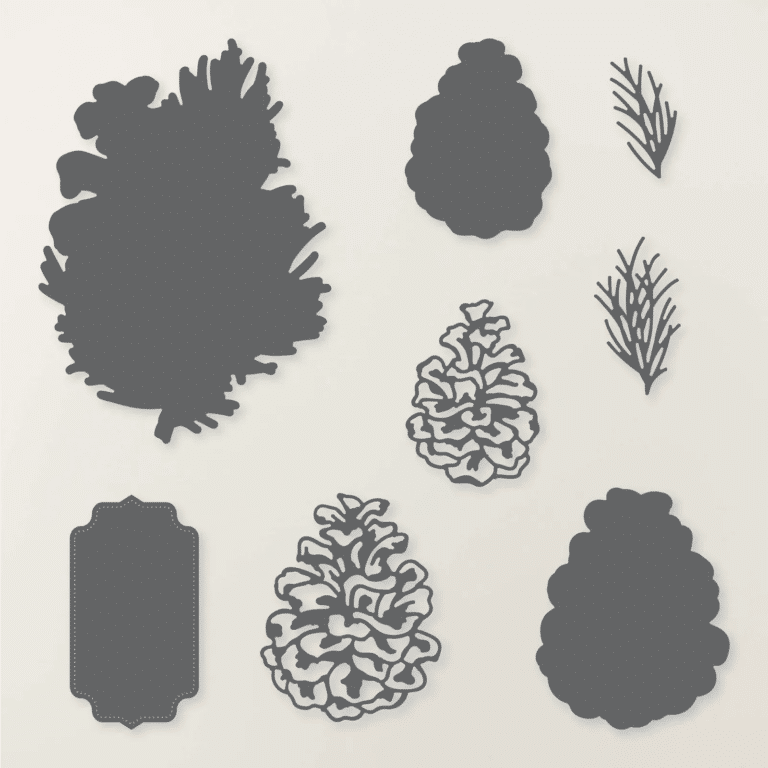
The big pinecone from the Stampin’ Up!® Frosted Pinecones Stamp Set deserves a little room to show off, so I made a 5 × 7 card with a Crumb Cake base. I used the Frosted Pinecones Decorative Masks to build up the color, then brushed on a little Wink of Stella so the scales catch the light.
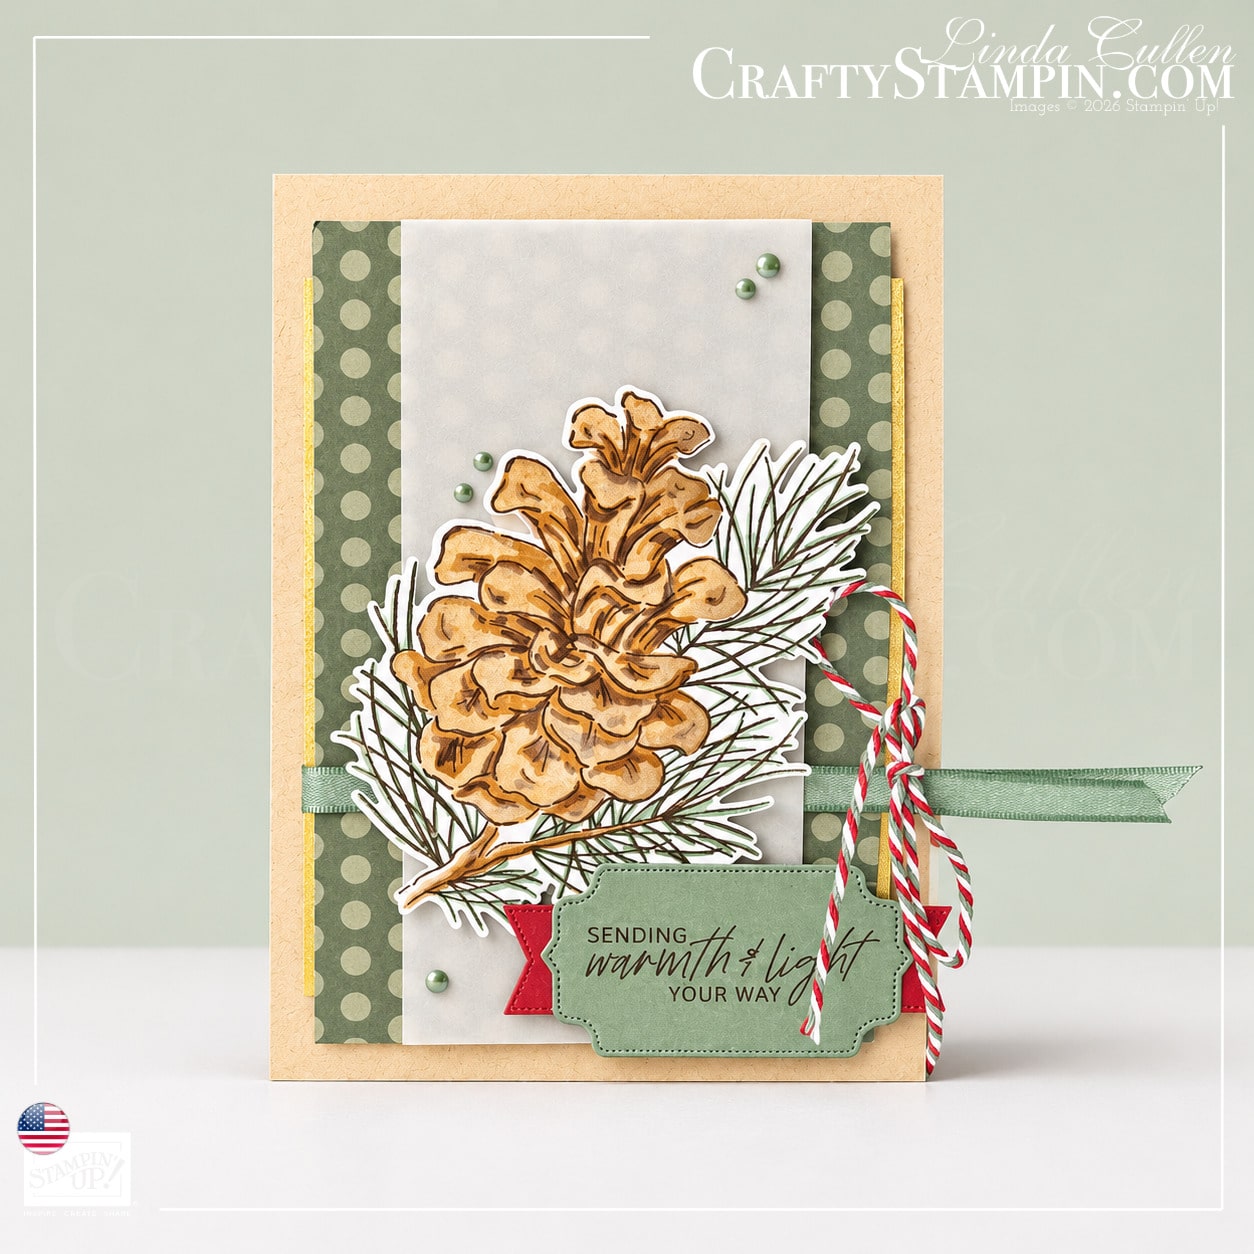
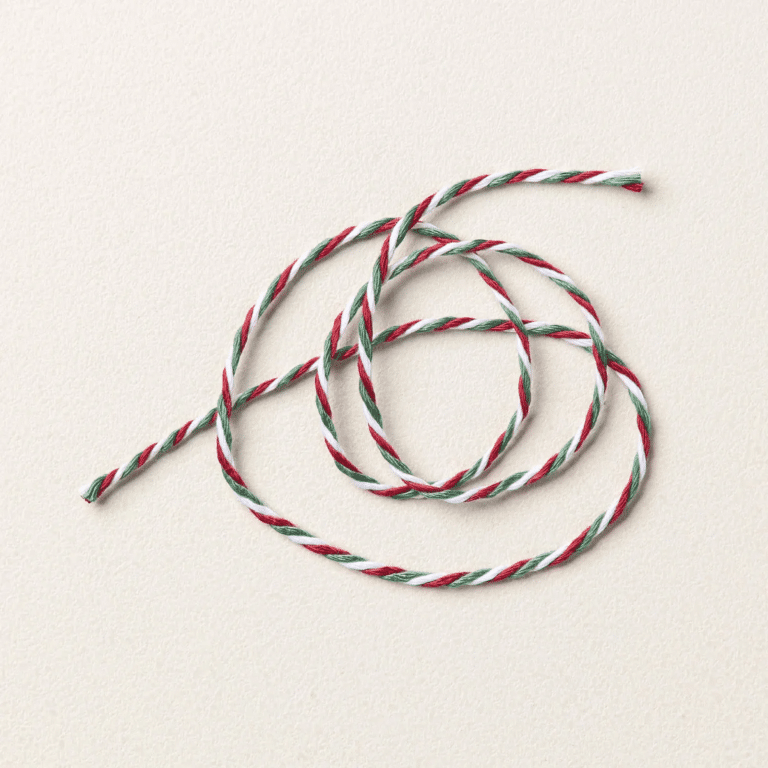
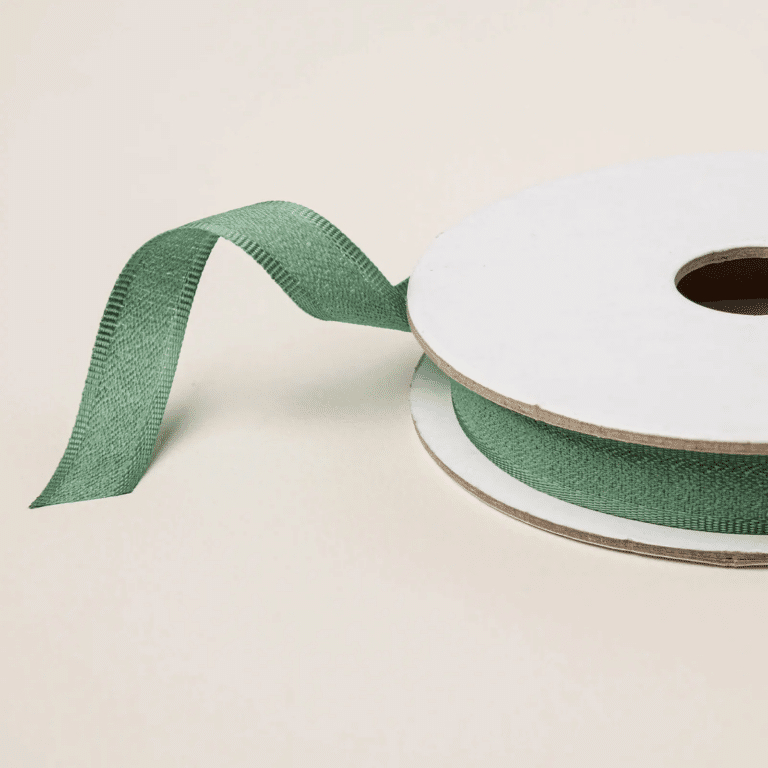
The green polka dots from the Timeless Christmas Designer Series Paper peek through the vellum, and the narrow gold strips pick up the shimmer on the pinecone. I finished the front with Peaceful Pine ribbon, Multicolor Christmas Baker’s Twine, and the “Sending warmth & light your way” greeting.
The Surprise Inside
I used the smaller Frosted Pinecones die for the ornament, layering the gold detail over the solid brown pinecone and tucking it behind a little white snowbank. I made the red, green, and gold shaker confetti from Timeless Metallic Specialty Paper scraps and a hole punch. See? There was a perfectly good reason to save those scraps!
The trick to the reveal is a clear 4 × 6 Flip Flap attached along the outer edge of the inside panel. The pocket swings out, letting the ornament slide right out by its twine loop. Once the ornament is on the tree, a stamped “Winter Wishes” greeting is still inside the card.
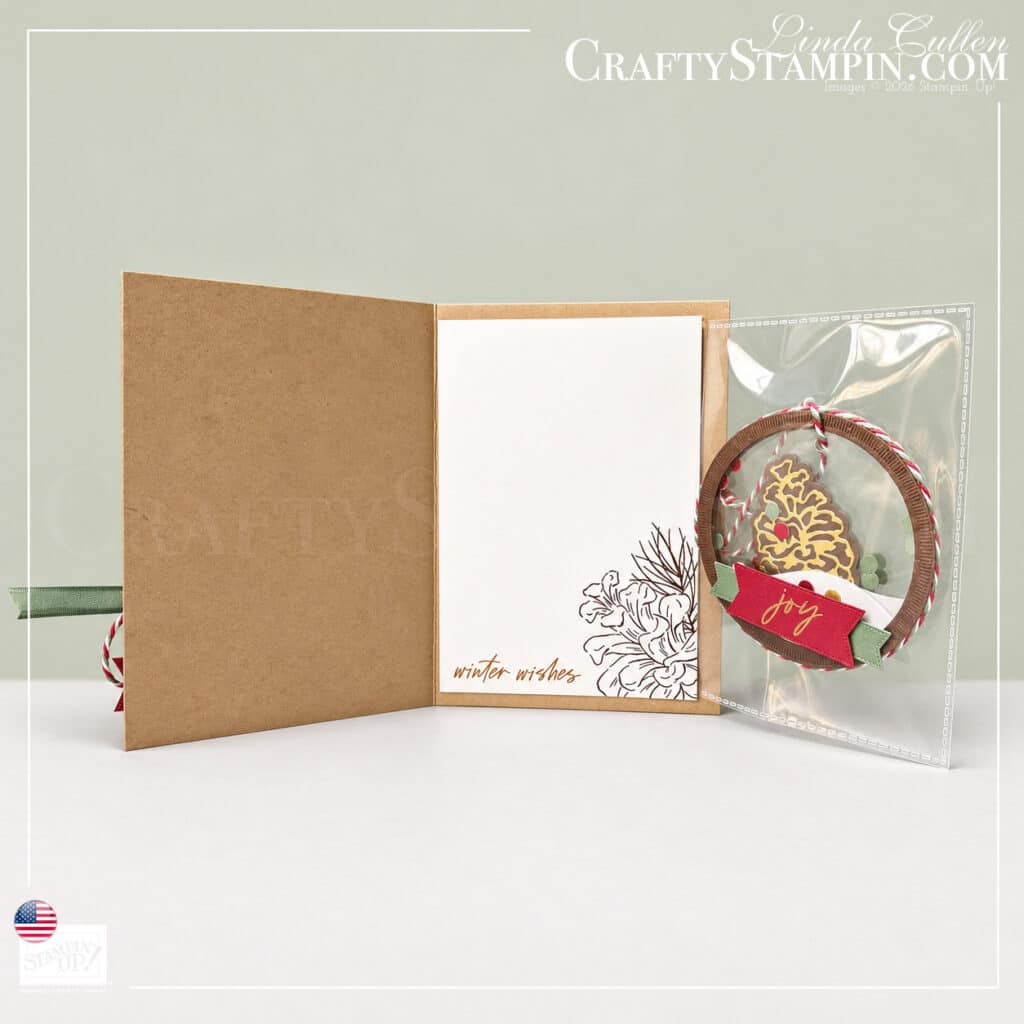
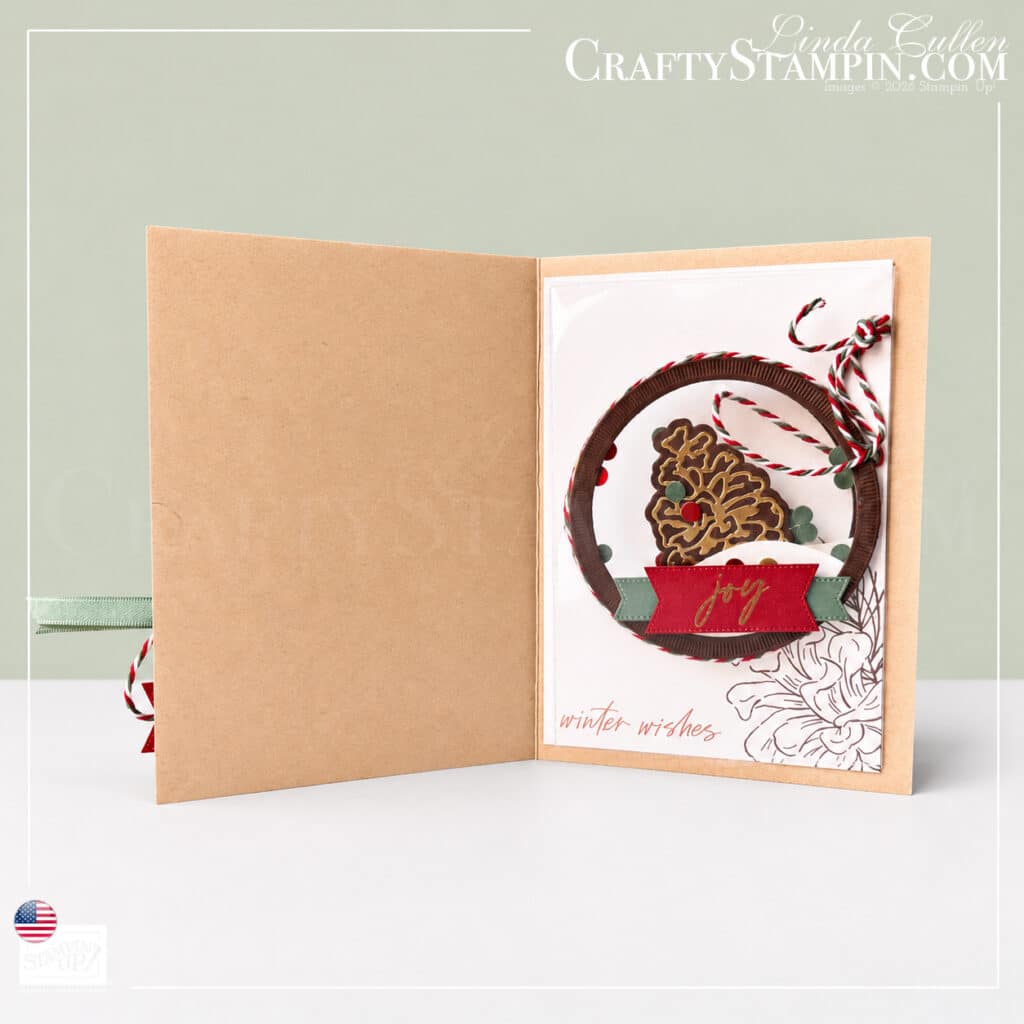
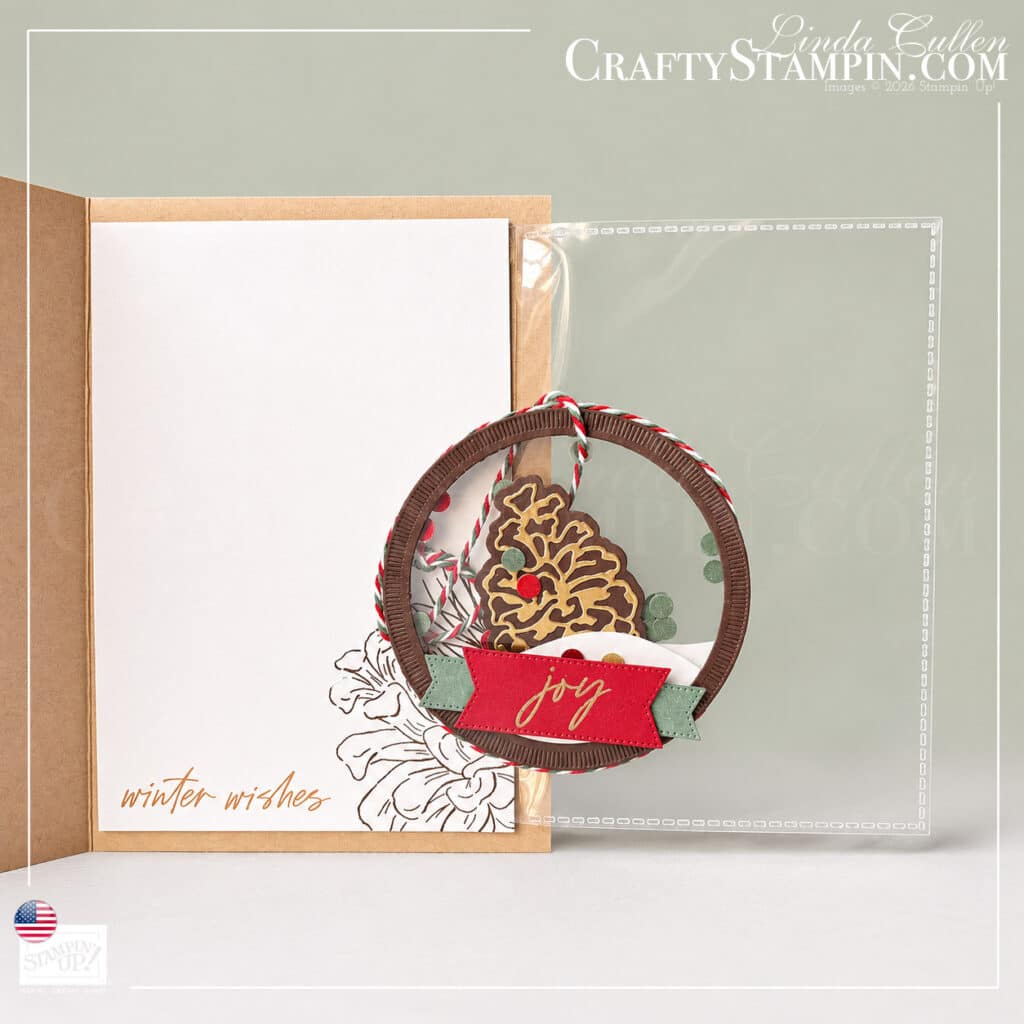
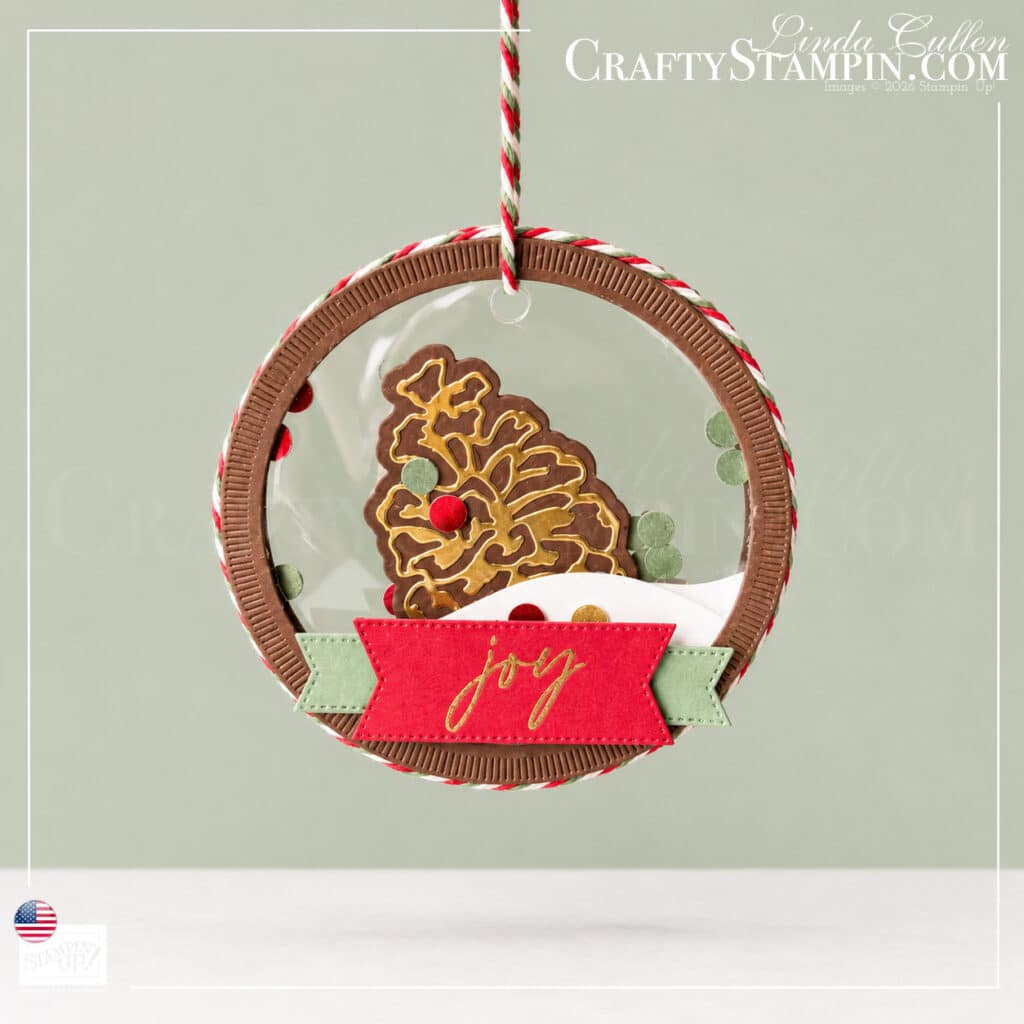
I’d seen a clear Flip Flap used to hold an ornament on a card and thought it would be perfect for this project. It lets the shaker swing out from the card so the recipient can slide it right out and hang it on the tree.
Watch the Video Tutorial
Follow along as I color the pinecone with the decorative masks, build and fill the shaker, and attach the Flip Flap so the ornament slides in and out.
Download the Free PDF Tutorial
Want to make your own? The printable tutorial includes the cutting measurements, supply names and item numbers, step-by-step instructions, and video timestamps so you can jump right to the part you’re working on.
Keep Hopping for More Christmas Ideas
Thanks for stopping by Crafty Stampin’! Would you give this card away, or would that little JOY ornament end up on your own tree? Tell me in the comments, then keep hopping for more handmade Christmas ideas from the Team Stamp It crew.
Color Palette
Supplies
Click on any product photo below to view it in my Stampin’ Up!® online store.
Item #168373
Item #168369
Item #166780
Item #166782
Item #119685
Item #120953
Item #119686
Item #167691
Item #147116
Item #147114
Item #167679
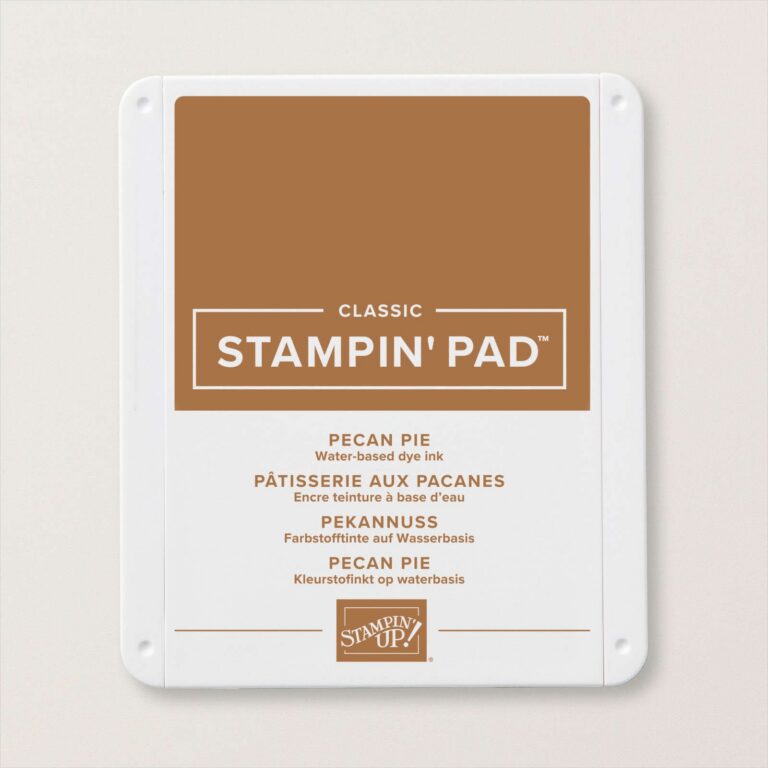
Item #161665
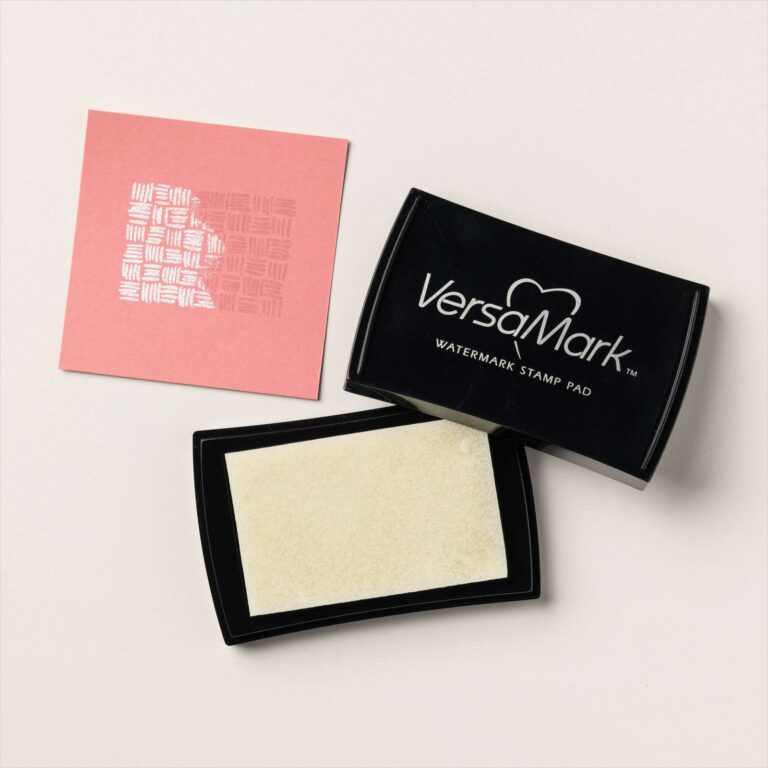
Item #102283
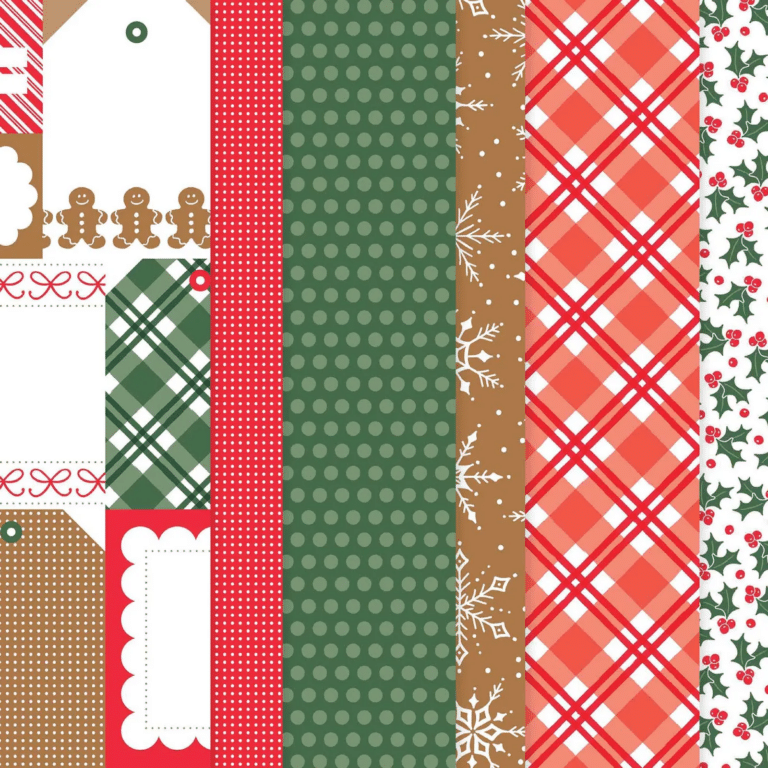
Item #168537
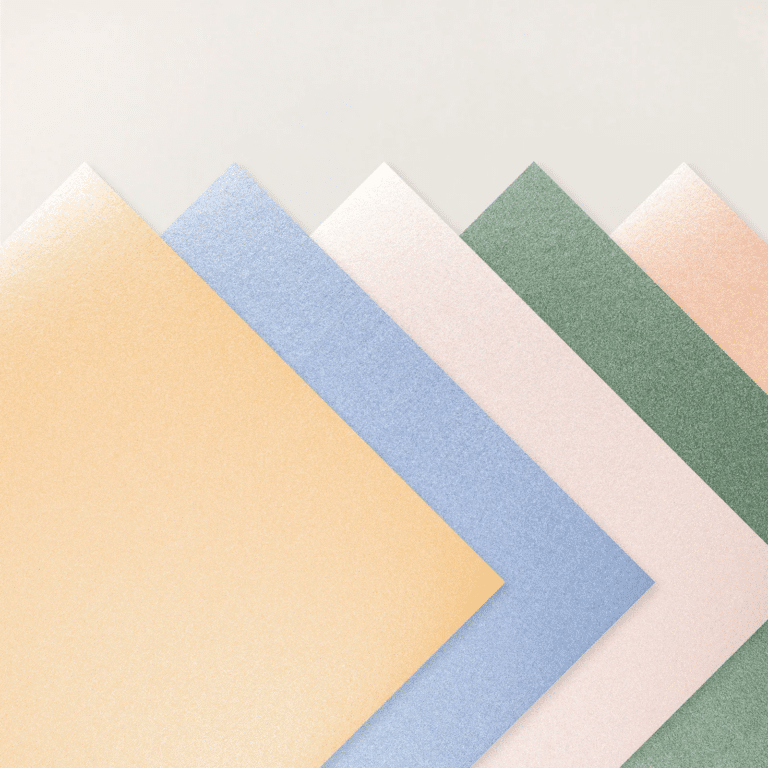
Item #167766
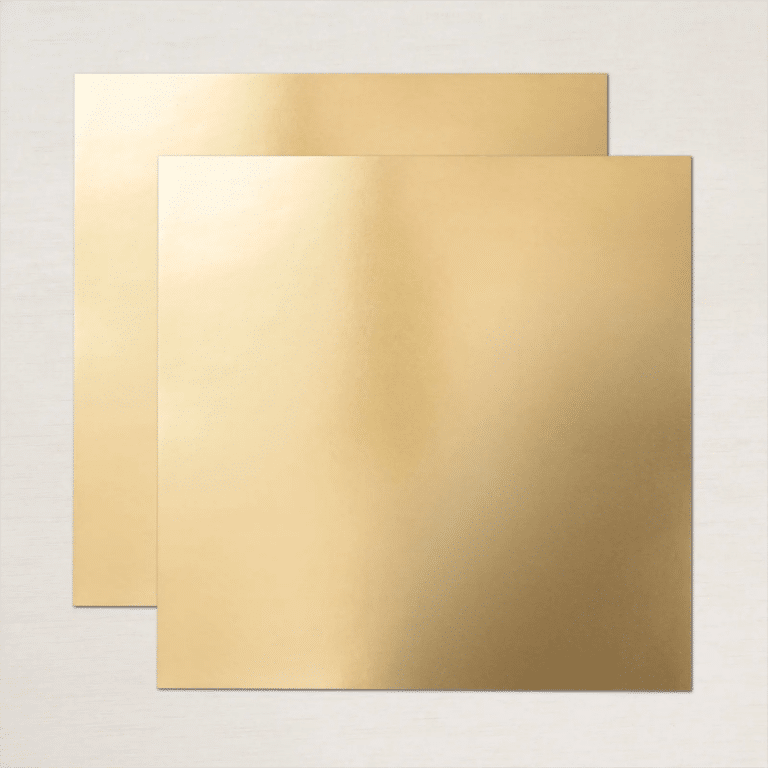
Item #132622
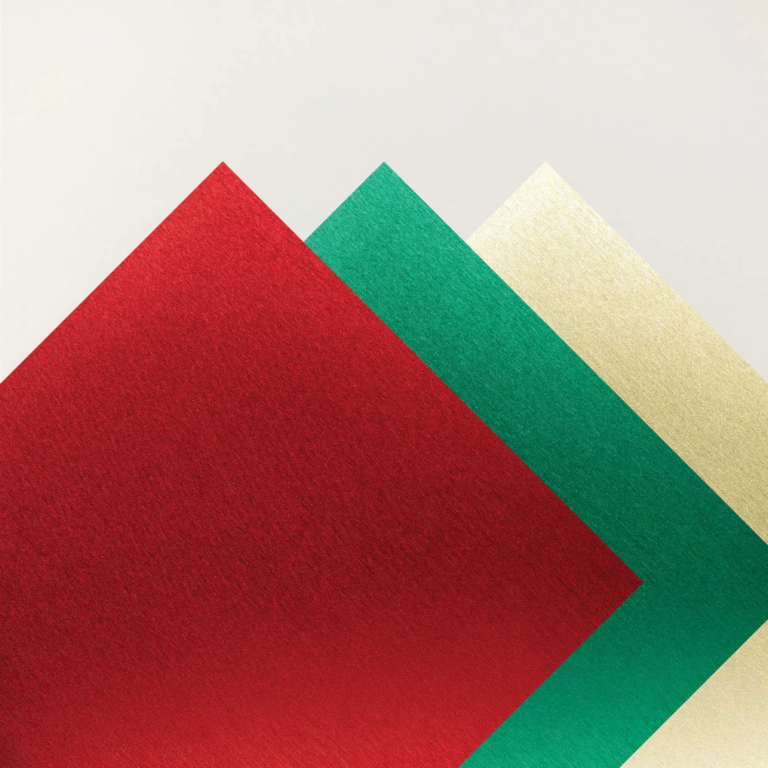
Item #168548
Item #167099
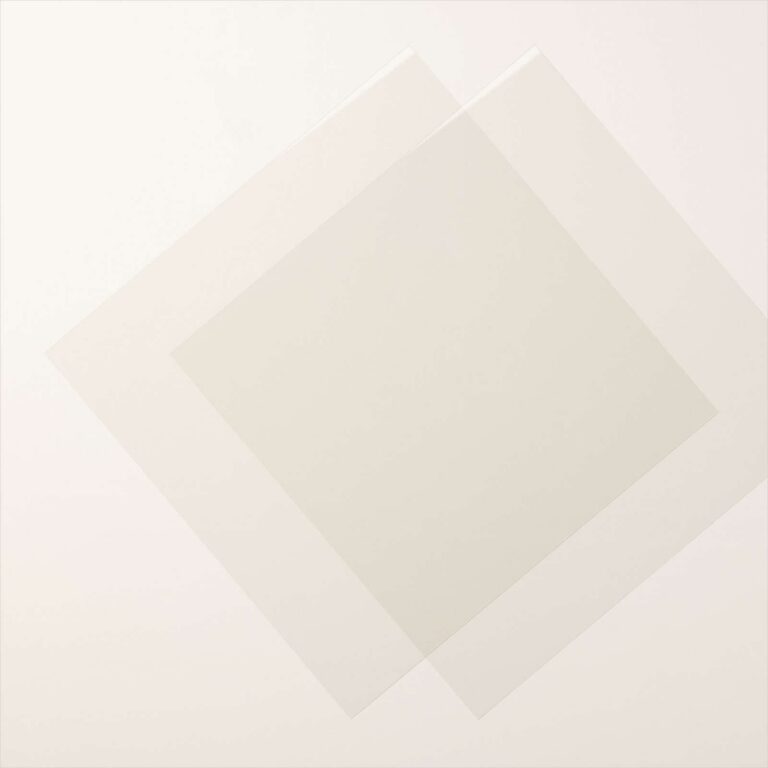
Item #142314
Item #168371

Item #163580

Item #159183
Item #168426
Item #167551
Item #167546
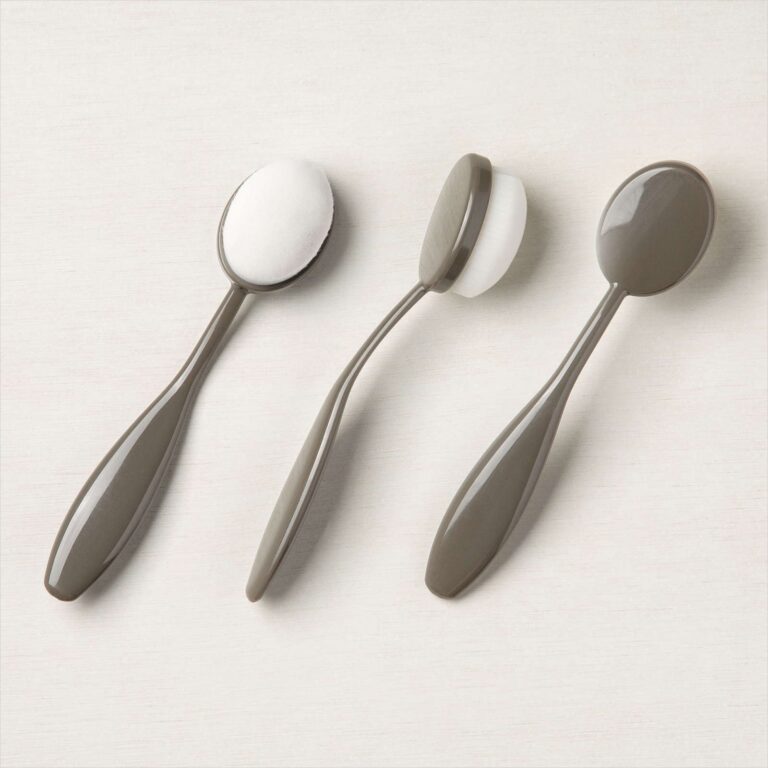
Item #153611
Item #160518

Item #170902
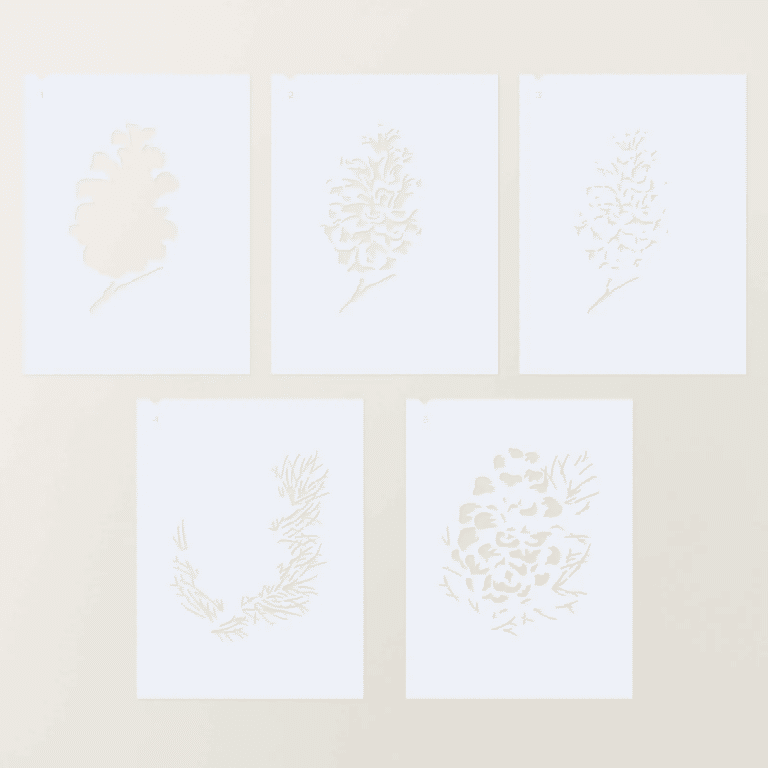
Item #168372

Item #129053
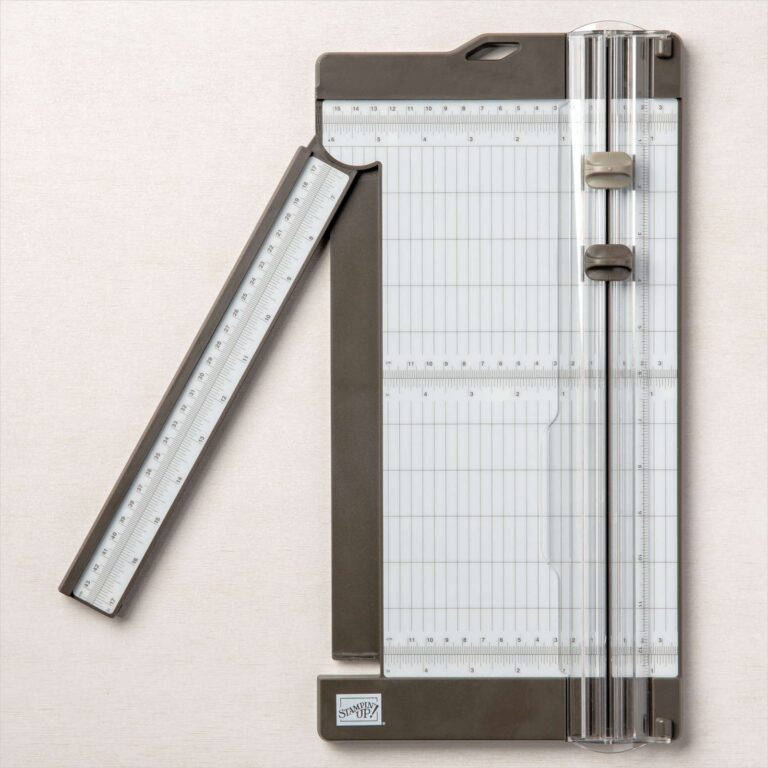
Item #152392
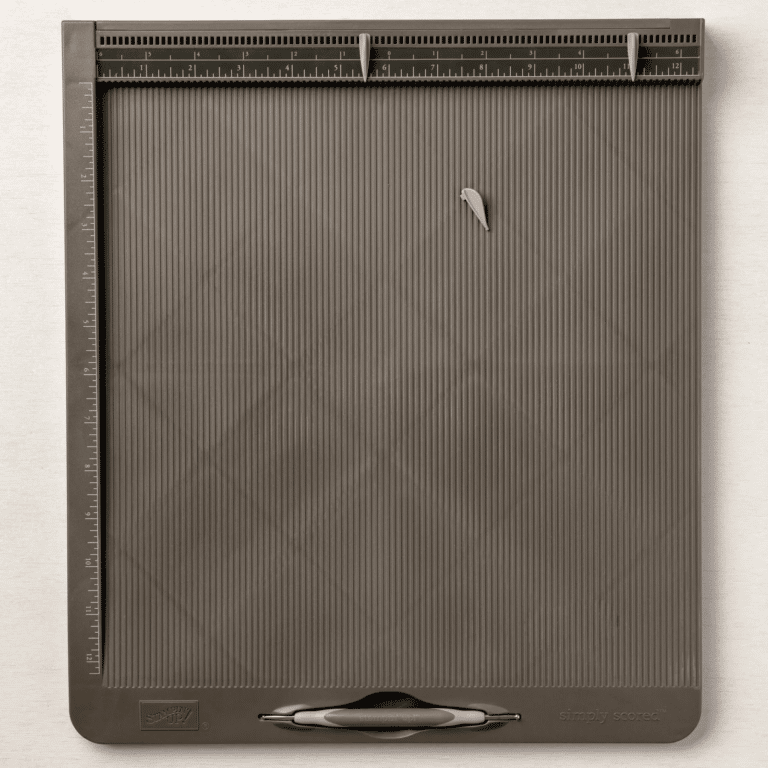
Item #122334
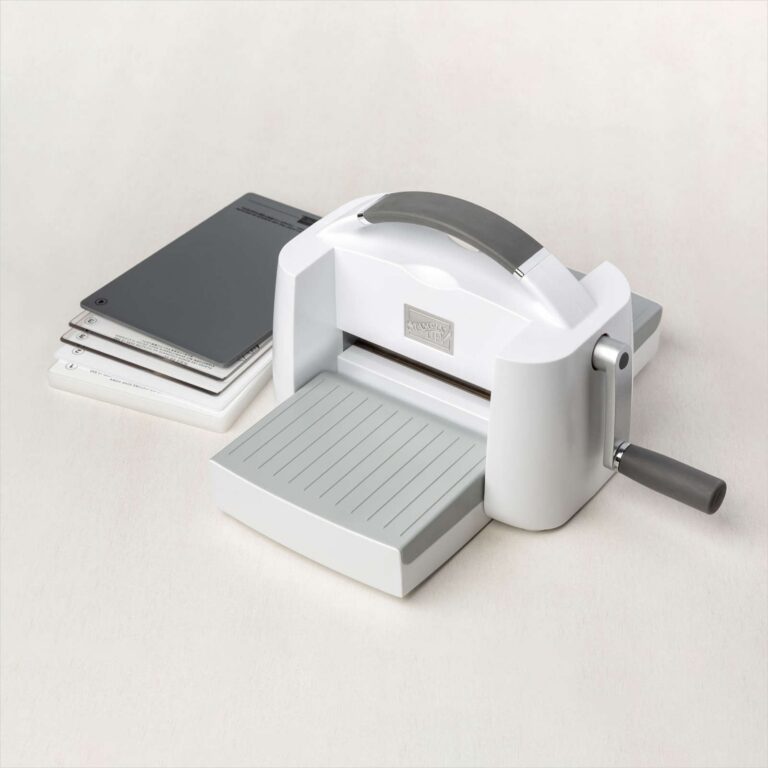
Item #149653
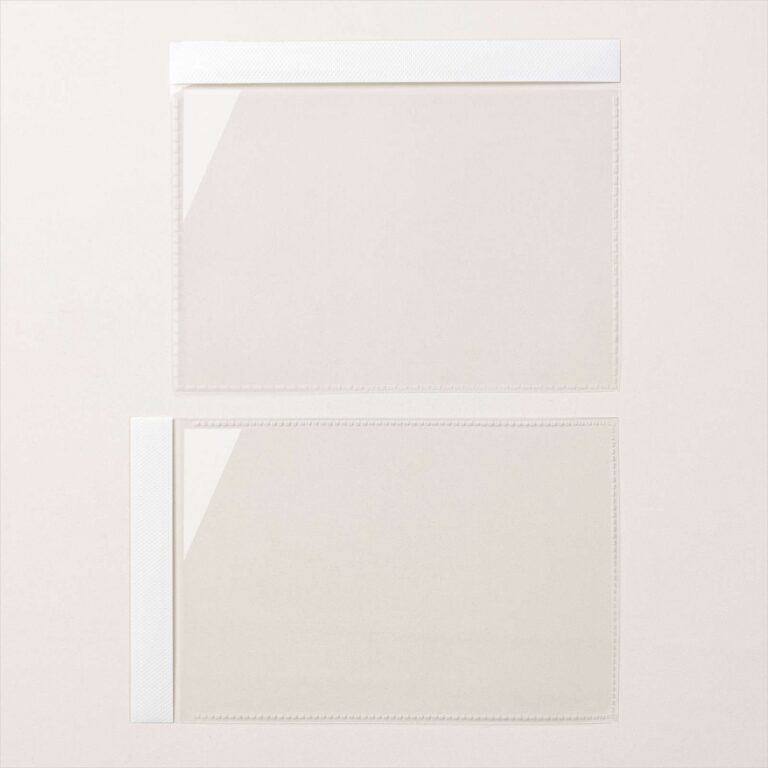
Item #166511
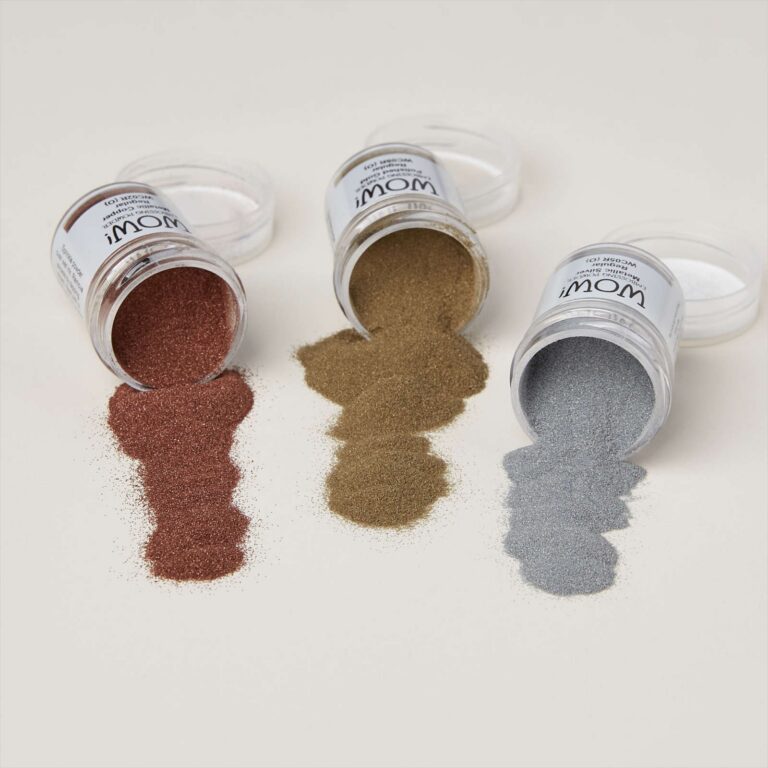
Item #165678
Item #141897
Item #141825
Item #103683
Item #144108
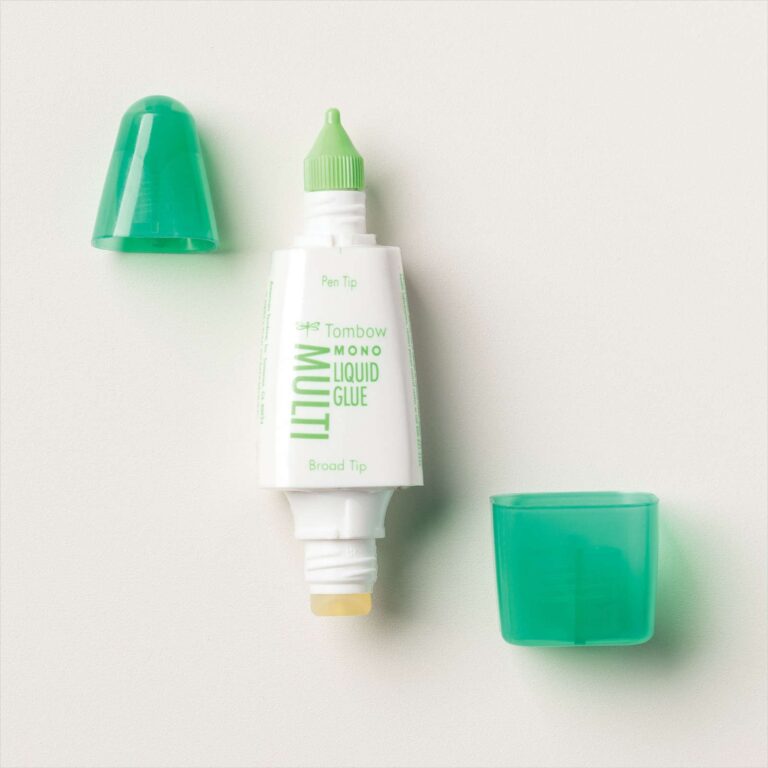
Item #110755
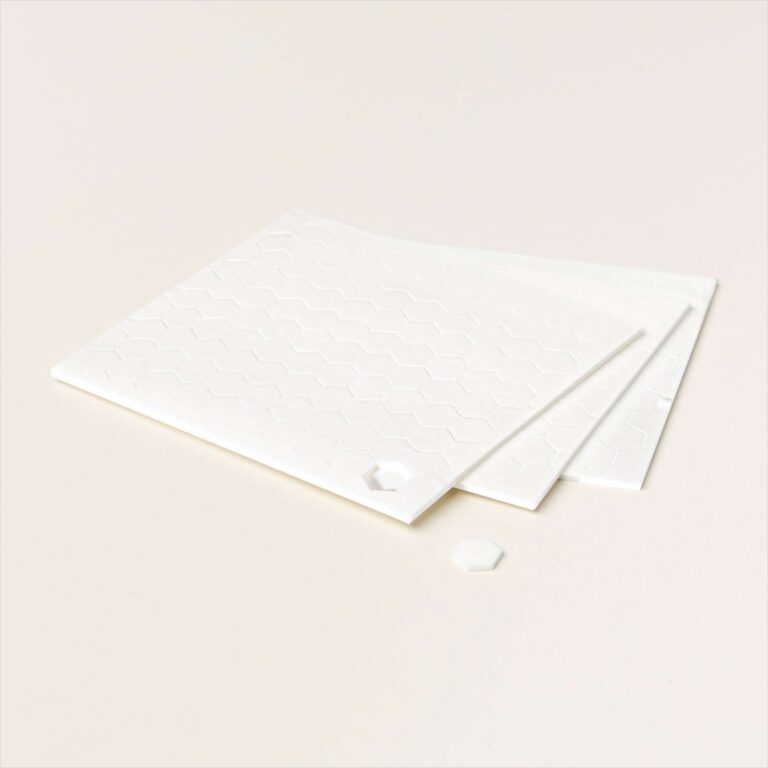
Item #104430
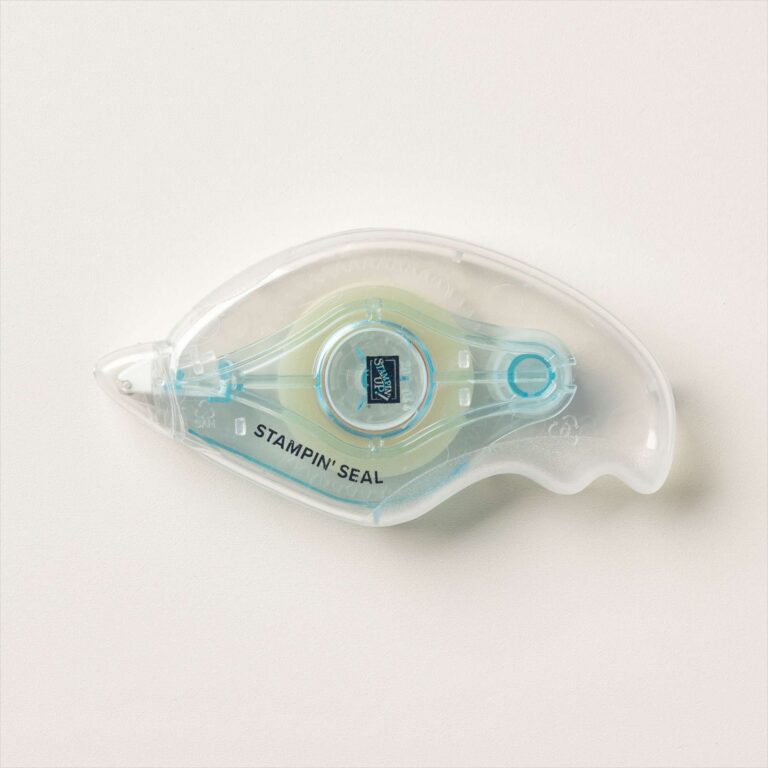
Item #152813
Happy Stamping!
Linda
Crafty Stampin’